Skip to Content Skip to Footer
LiveWell WIC logo
Livewell Wic
  • Home
  • Ellyn Satter
    • Ellyn Satter
      Prenatal / Postpartum
    • Ellyn Satter
      Newborn / Infant
    • Ellyn Satter
      Older Baby / Almost Toddler
    • Ellyn Satter
      Toddler / Preschooler
  • Breastfeeding
  • Eat·Grow·Live Healthy
    • Eat·Grow·Live Healthy
      Women
    • Eat·Grow·Live Healthy
      Infants
    • Eat·Grow·Live Healthy
      Children
    • Eat·Grow·Live Healthy
      Fathers
  • Live Well Blog
  • Español

Making your own baby food

  • Home
  • Ellyn Satter
  • Older Baby / Almost Toddler
  • Frequently Asked Questions
  • Making your own baby food
Spoonful of mashed peas above a bowl.

If you cook meals for yourself, it’s simple to make the food right for your baby. If you don’t cook meals for yourself, now is the time to start. Baby foods that you buy in the store are safe, handy, and good for your baby. However, they cost a lot, and they don’t have enough lumps and pieces to teach babies to chew.

Babies generally don’t eat pureed or soft and mushy food for long. They start eating Step 1 foods at age 5 or 6 months and are ready for Step 4 foods by age 8 to 10 months. Some babies only get interested in solid food when they can finger-feed themselves Step 3 or 4 foods.

Some babies aren’t ready to start solids until months later and only join in with family meals when they are 12 to 18 months old.

Step 1 foods: Mushy food to teach him to get food from the spoon and swallow.

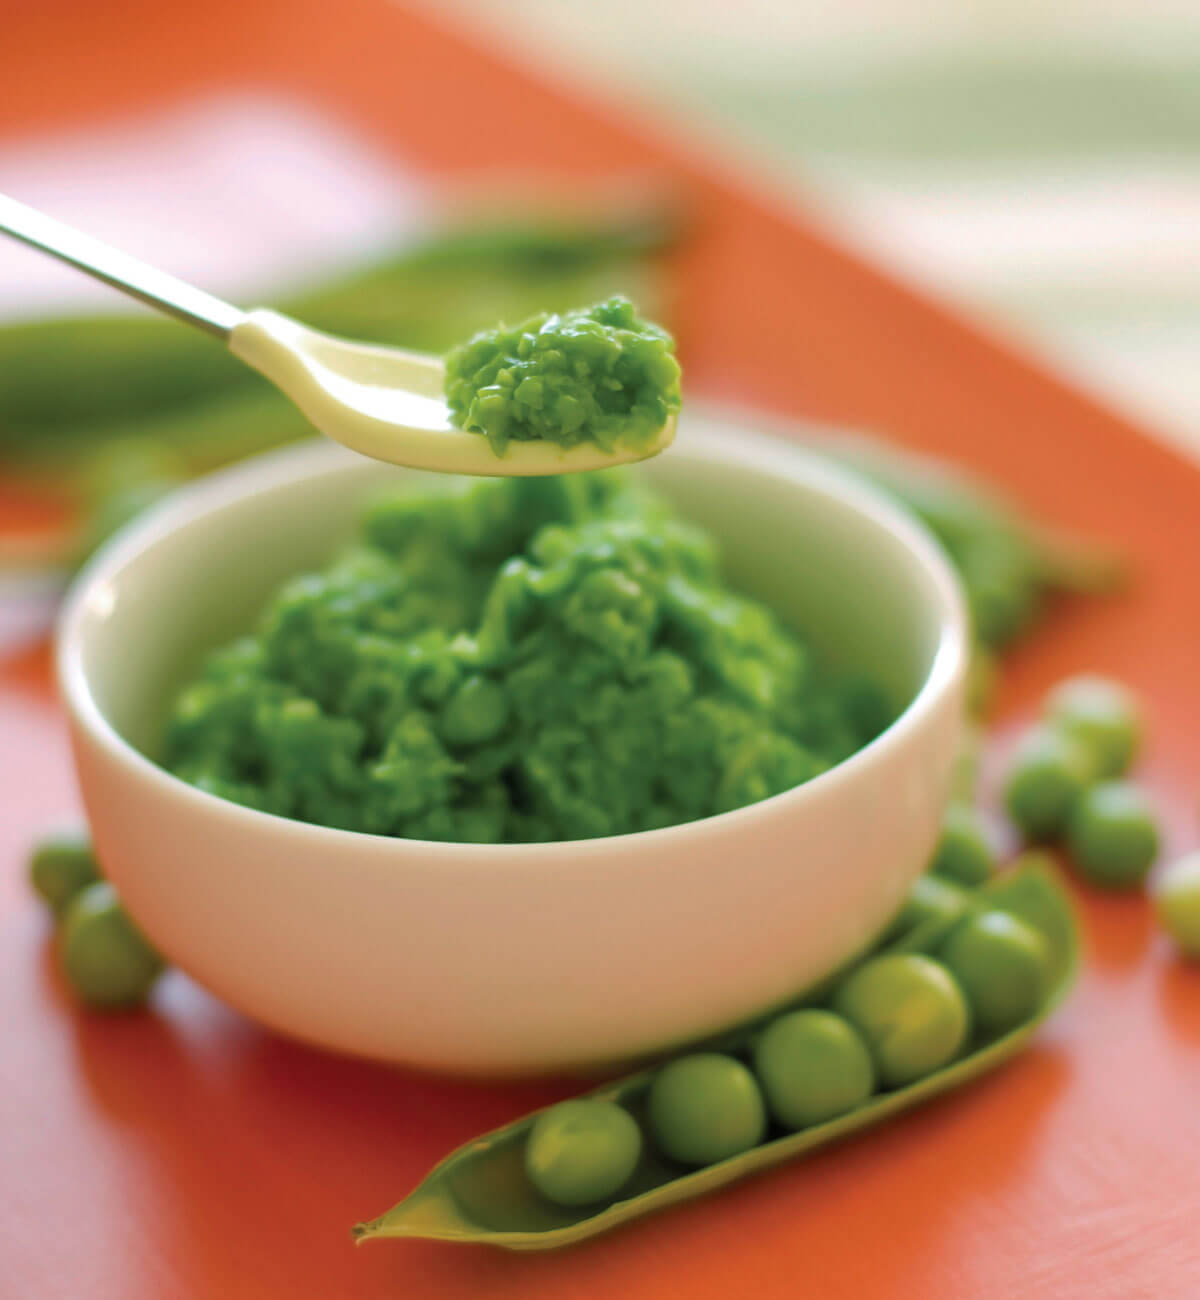
When your baby is ready for vegetables and fruits, carefully mash soft or cooked food with a fork. You can use a baby food grinder.

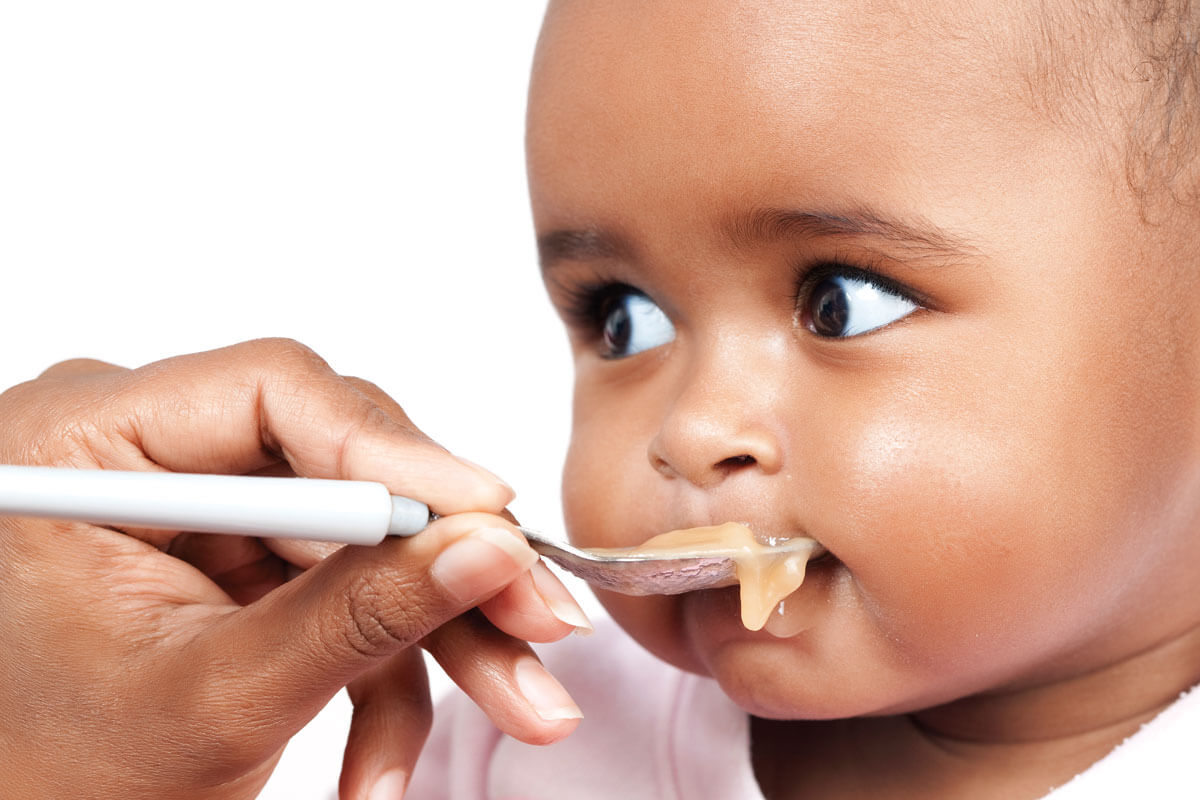
Iron-fortified baby cereal mixed with breastmilk or formula is the best first solid food.

Have cereal be the only solid food for the first few weeks. Work up to cereal twice a day. You might get bored feeding it, but he won’t get bored eating it!

You can use a blender to puree batches of vegetables or fruit and freeze the food in ice-cube trays. Be extra careful to keep everything clean.

At first, don’t mix foods. If a new food gives your baby stomachache, diarrhea, skin rash or wheezing, you need to be able to tell what causes the problem.

Baby being fed with a spoon.

Step 2 foods: Thick, lumpy food to teach him to move food with his tongue.

  • Leave small lumps in fork-mashed bananas, peaches, pears, mangos, or melons.
  • Coarsely fork-mash cooked vegetables and fruits.

Step 3 foods: Mashed, chopped, cut-up, or small pieces of grownup foods.

  • Eating pieces of food lets him learn to use his jaws and fingers.

Step 4 foods: Soft, easy-to-chew family foods.

  • Your child can eat what you eat except coarse or tough foods that might make him choke.

You May Also Like...

Making food easy to eat

Making food easy to eat Share to social Share Your child is ready to learn to eat most of the foods you eat. What meal do you have often? What…

Read More

Feeding your prematurely born older baby

Feeding your prematurely born older baby Share to social Share How do you feel your baby is coming along? How is he like or not like babies who weren’t born…

Read More

Is your child too small? Does he not eat enough?

Is your child too small? Does he not eat enough? Share to social Share Why do you think your child doesn’t eat enough? Why do you think he is too…

Read More

© Ellyn Satter

LiveWell WIC program logo

Contact Us

USDA is an equal opportunity provider, employer, and lender.

Cookie PolicyAbout UsPrivacy PolicyTerms of Agreement

© Brush Art Corporation

  • Email
  • SMS
If you are using multiple emails, separate them with commas.

    SMS Communication Consent

    Share

    Share this link via:

    Cartoon vegetables with leafy tops gather playfully together.

    Side-Lying Hold

    1. For the right breast, lie on your right side with your baby facing you.
    2. Pull your baby close. Your baby’s mouth should be level with your nipple.
    3. In this position, you can cradle your baby’s back with your left arm and support yourself with your right arm and/or pillows.
    4. Keep loose clothing and bedding away from your baby.
    5. Reverse for the left breast.

    This hold is useful when:

    • You had a C-section
    • You want to rest while baby feeds
    • You are breastfeeding in the middle of the night
    • You and your baby are comfortable in this position
    Yellow circle with abstract, jagged shapes and patterns.

    Cross-Cradle Hold

    1. For the right breast, use your left arm to hold your baby’s head at your right breast and baby’s body toward your left side. A pillow across your lap can help support your left arm.
    2. Gently place your left hand behind your baby’s ears and neck, with your thumb and index finger behind each ear and your palm between baby’s shoulder blades. Turn your baby’s body toward yours so your tummies are touching.
    3. Hold your breast as if you are squeezing a sandwich. To protect your back, avoid leaning down to your baby. Instead, bring your baby to you.
    4. As your baby’s mouth opens, push gently with your left palm on baby’s head to help them latch on. Make sure you keep your fingers out of the way.
    5. Reverse for the left breast.

    This hold is useful when:

    • Your baby is premature
    • Your baby has a weak suck
    • Your baby needs help to stay latched
    • Your baby needs extra head support
    • You and your baby are comfortable in this position
    Cat playing with butterfly in a garden.

    Clutch or “Football” Hold

    1. For the right breast, hold your baby level, facing up, at your right side.
    2. Put your baby’s head near your right nipple and support their back and legs under your right arm.
    3. Hold the base of your baby’s head with your right palm. A pillow underneath your right arm can help support your baby’s weight.
    4. To protect your back, avoid leaning down to your baby. Bring baby to you instead.
    5. Reverse for the left breast.

    This hold is useful when:

    • You had a C-section
    • You have large breasts
    • You have flat or inverted nipples
    • You have a strong milk let-down
    • You are breastfeeding twins
    • Your baby likes to feed in an upright position
    • Your baby has reflux
    • You and your baby are comfortable in this position
    Peach circle with abstract shapes radiating outward.

    Cradle Hold

    1. For the right breast, cradle your baby with your right arm. Your baby will be on their left side across your lap, facing you at nipple level.
    2. Your baby’s head will rest on your right forearm with your baby’s back along your inner arm and palm.
    3. Turn your baby’s tummy toward your tummy. Your left hand is free to support your breast, if needed. Pillows can help support your arm and elbow.
    4. To protect your back, avoid leaning down to your baby. Instead, bring your baby to you.
    5. Reverse for the left breast.

    This hold is useful when:

    • Your baby needs help latching on
    • You and your baby are comfortable in this position
    Smiling peach character waving cheerful hello.

    Laid-Back Hold

    1. Lean back on a pillow with your baby’s tummy touching yours and their head at breast level. Some moms find that sitting up nearly straight works well. Others prefer to lean back and lie almost flat.
    2. You can place your baby’s cheek near your breast, or you may want to use one hand to hold your breast near your baby. It’s up to you and what you think feels best.
    3. Your baby will naturally find your nipple, latch, and begin to suckle.

    This hold is useful when:

    • Your baby is placed on your chest right after birth
    • You have a strong milk let-down
    • You have large breasts
    • You and your baby are comfortable in this position