Skip to Content Skip to Footer
LiveWell WIC logo
Livewell Wic
  • Home
  • Ellyn Satter
    • Ellyn Satter
      Prenatal / Postpartum
    • Ellyn Satter
      Newborn / Infant
    • Ellyn Satter
      Older Baby / Almost Toddler
    • Ellyn Satter
      Toddler / Preschooler
  • Breastfeeding
  • Eat·Grow·Live Healthy
    • Eat·Grow·Live Healthy
      Women
    • Eat·Grow·Live Healthy
      Infants
    • Eat·Grow·Live Healthy
      Children
    • Eat·Grow·Live Healthy
      Fathers
  • Live Well Blog
  • Español
  • Creole

Solid foods, step by step

  • Home
  • Ellyn Satter
  • Older Baby / Almost Toddler
  • Infant Older Baby
  • Solid foods, step by step
boy-drinking

What have you heard about feeding your baby solid foods?

What do other people say about feeding solid foods?

How do your friends feed their babies?

What would you like to do?

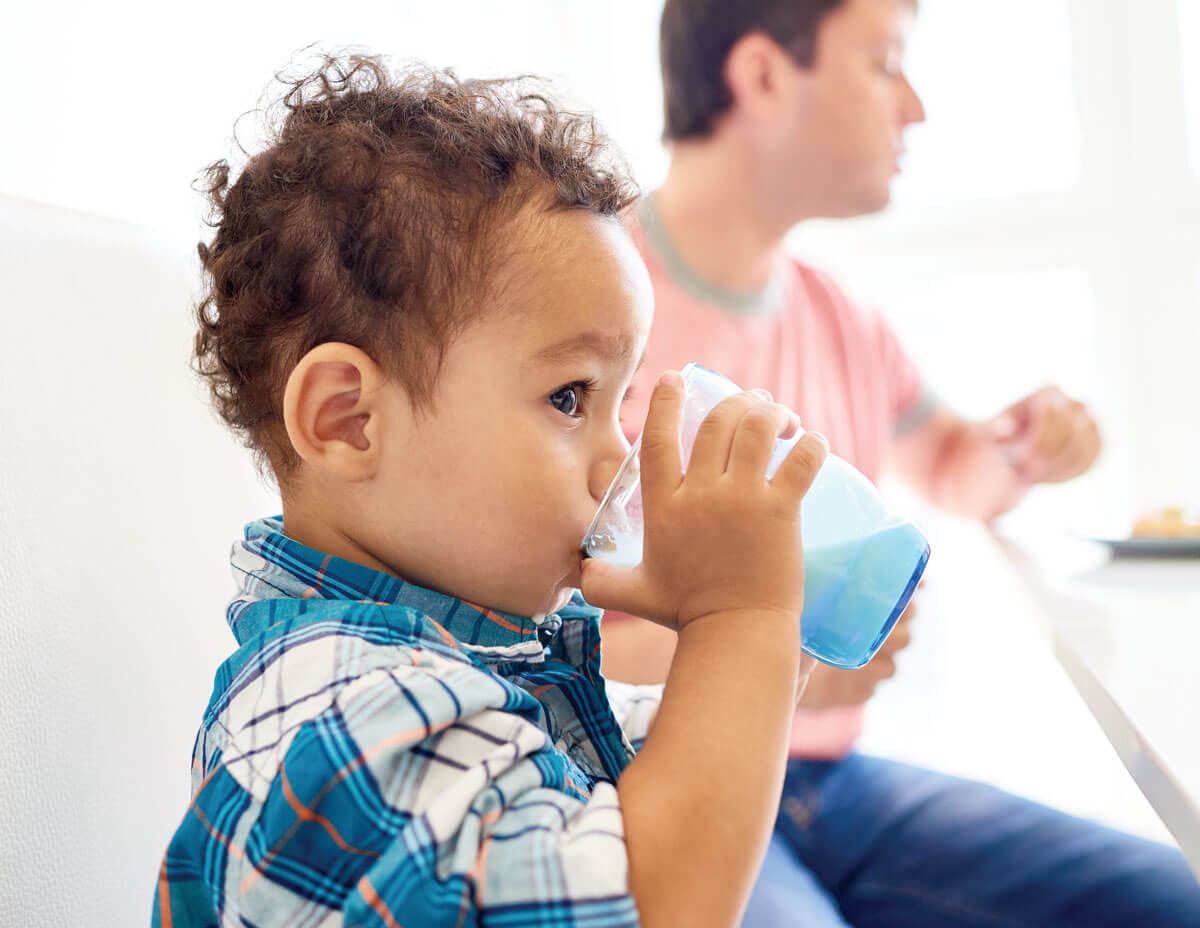
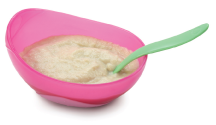
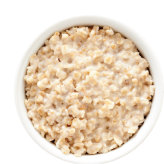
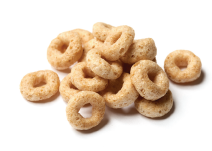
Your child learns to eat step by step. Here are the foods that are right for each step. What are your ideas for foods your baby could eat at each step?

bowl feed

Step 1:
Mushy food you feed from the spoon

  • Iron-fortified baby rice or barley cereal mixed with breastmilk or formula
  • Fruits and vegetables that are finely fork-mashed, pureed, or put through a baby-food grinder
  • Baby food you buy in the store
Thicker bowl feed

Step 2:
Thicker, lumpier food you feed from the spoon

  • Fruits and vegetables that are coarsely mashed
  • Mashed potatoes, refried beans, and sticky rice
  • Toddler food that you buy in the store
Small pieces finger-food

Step 3:
Small pieces of finger food he feeds himself. Foods he bites or breaks off with his gums

  • Cut-up cooked vegetables, fruits, and casseroles
  • Cut-up raw bananas or peaches
  • Tender chopped meats
  • Cheerios or Corn Chex
  • Bread squares, toast strips, tortilla strips
  • Graham crackers
banana slice

Step 4:
Family food that is easy to pick up, chew, and swallow

  • Everything you eat except hard or
    tough food that might make him choke
  • Whole pasteurized milk
  • Juice in a cup
  • Start one new food at a time. Wait 3 or 4 days to give more new food. That way you can tell if the new food gives your baby a stomachache, diarrhea, skin rashes, or wheezing.
  • Give your child time and chances to learn to like new food. Offer a new food a few meals later and a few meals after that. After 10 or 15 tries, he will like most foods.

You May Also Like...

Understand your older baby

Understand your older baby Share to social Share Is your baby different now from when she was younger? What can she do now that she couldn’t do before? What do…

Read More

Feed the way your child can eat

Feed the way your child can eat Share to social Share How do you know when to start solid foods? How do you know when to feed your baby table…

Read More

How to feed your older baby solid foods

How to feed your older baby solid foods Share to social Share How is feeding going? What do you like about feeding? What don’t you like? Is there anything you…

Read More

© Ellyn Satter

LiveWell WIC program logo

    Contact Us

USDA is an equal opportunity provider, employer, and lender.

Cookie PolicyAbout UsPrivacy PolicyTerms of Agreement

© Brush Art Corporation

  • Email
  • SMS
If you are using multiple emails, separate them with commas.

    SMS Communication Consent

    Share

    Share this link via:

    Side Lying Hold

    Side-Lying Hold

    1. For the right breast, lie on your right side with your baby facing you.
    2. Pull your baby close. Your baby’s mouth should be level with your nipple.
    3. In this position, you can cradle your baby’s back with your left arm and support yourself with your right arm and/or pillows.
    4. Keep loose clothing and bedding away from your baby.
    5. Reverse for the left breast.

    This hold is useful when:

    • You had a C-section
    • You want to rest while baby feeds
    • You are breastfeeding in the middle of the night
    • You and your baby are comfortable in this position
    Wooden carved fork resting on the edge

    Cross-Cradle Hold

    1. For the right breast, use your left arm to hold your baby’s head at your right breast and baby’s body toward your left side. A pillow across your lap can help support your left arm.
    2. Gently place your left hand behind your baby’s ears and neck, with your thumb and index finger behind each ear and your palm between baby’s shoulder blades. Turn your baby’s body toward yours so your tummies are touching.
    3. Hold your breast as if you are squeezing a sandwich. To protect your back, avoid leaning down to your baby. Instead, bring your baby to you.
    4. As your baby’s mouth opens, push gently with your left palm on baby’s head to help them latch on. Make sure you keep your fingers out of the way.
    5. Reverse for the left breast.

    This hold is useful when:

    • Your baby is premature
    • Your baby has a weak suck
    • Your baby needs help to stay latched
    • Your baby needs extra head support
    • You and your baby are comfortable in this position
    Woman with shopping bag

    Clutch or “Football” Hold

    1. For the right breast, hold your baby level, facing up, at your right side.
    2. Put your baby’s head near your right nipple and support their back and legs under your right arm.
    3. Hold the base of your baby’s head with your right palm. A pillow underneath your right arm can help support your baby’s weight.
    4. To protect your back, avoid leaning down to your baby. Bring baby to you instead.
    5. Reverse for the left breast.

    This hold is useful when:

    • You had a C-section
    • You have large breasts
    • You have flat or inverted nipples
    • You have a strong milk let-down
    • You are breastfeeding twins
    • Your baby likes to feed in an upright position
    • Your baby has reflux
    • You and your baby are comfortable in this position
    Cartoon-style abstract bird silhouette

    Cradle Hold

    1. For the right breast, cradle your baby with your right arm. Your baby will be on their left side across your lap, facing you at nipple level.
    2. Your baby’s head will rest on your right forearm with your baby’s back along your inner arm and palm.
    3. Turn your baby’s tummy toward your tummy. Your left hand is free to support your breast, if needed. Pillows can help support your arm and elbow.
    4. To protect your back, avoid leaning down to your baby. Instead, bring your baby to you.
    5. Reverse for the left breast.

    This hold is useful when:

    • Your baby needs help latching on
    • You and your baby are comfortable in this position
    Abstract geometric shapes in pastel

    Laid-Back Hold

    1. Lean back on a pillow with your baby’s tummy touching yours and their head at breast level. Some moms find that sitting up nearly straight works well. Others prefer to lean back and lie almost flat.
    2. You can place your baby’s cheek near your breast, or you may want to use one hand to hold your breast near your baby. It’s up to you and what you think feels best.
    3. Your baby will naturally find your nipple, latch, and begin to suckle.

    This hold is useful when:

    • Your baby is placed on your chest right after birth
    • You have a strong milk let-down
    • You have large breasts
    • You and your baby are comfortable in this position