 |
 |
 |
|
|---|---|---|---|
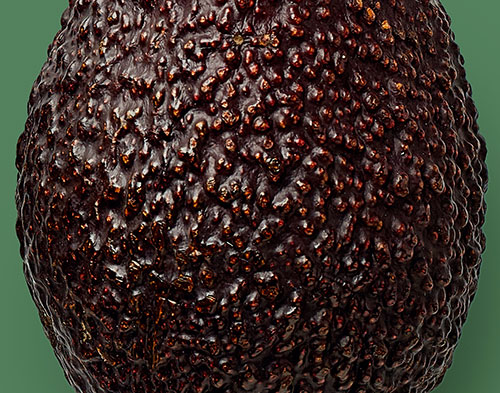
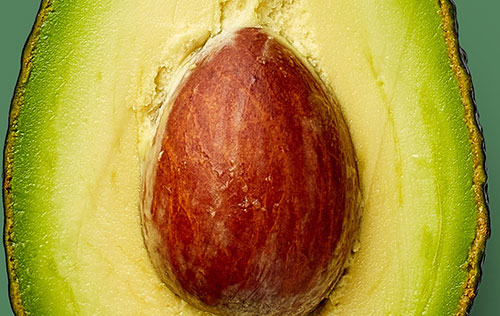
| Skin | Flesh | Seed | |
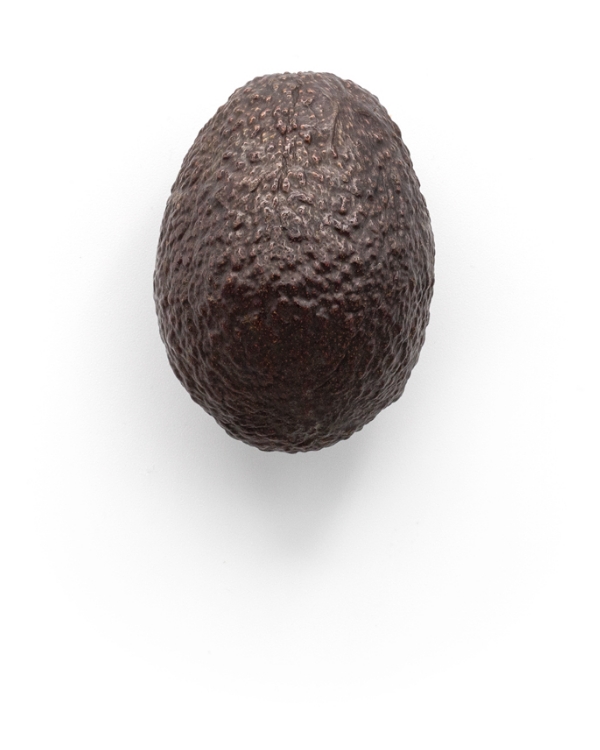
| Looks like… | Rough, bumpy outside FUN FACT!Bumpy avocados have more fat and more calories than smooth avocados. |
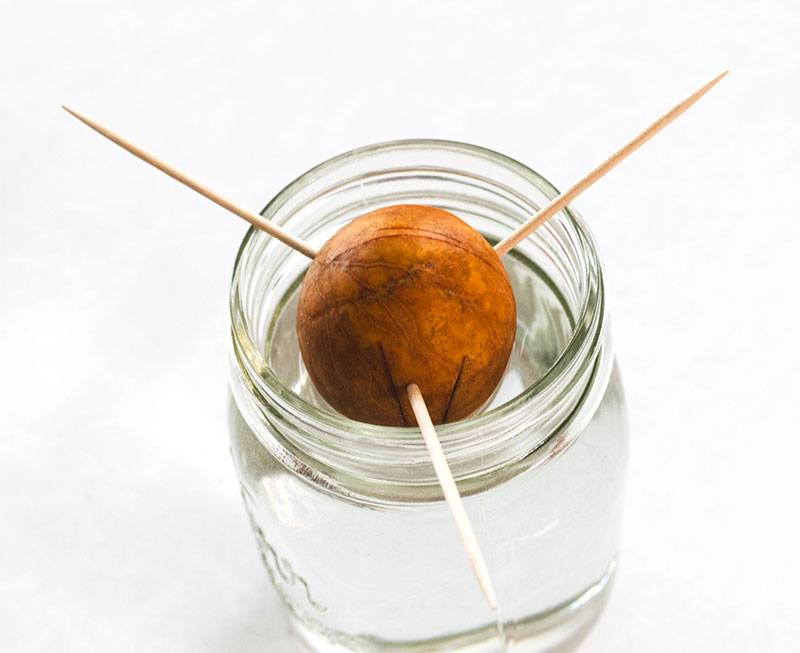
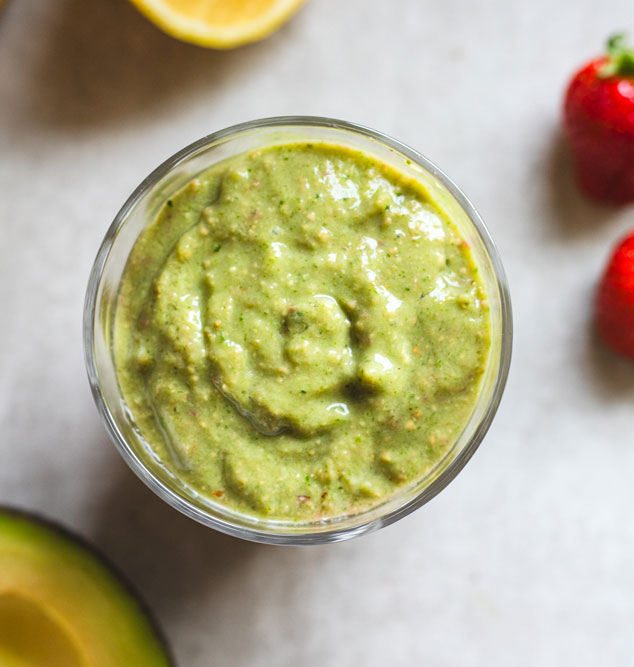
Creamy smooth inside | Hard, brown seed or pit in the center |
| Tastes like… | Bitter. While the skin is edible, the taste may be unpleasant. It can also be hard to digest and may cause allergic reactions in some people. |
|
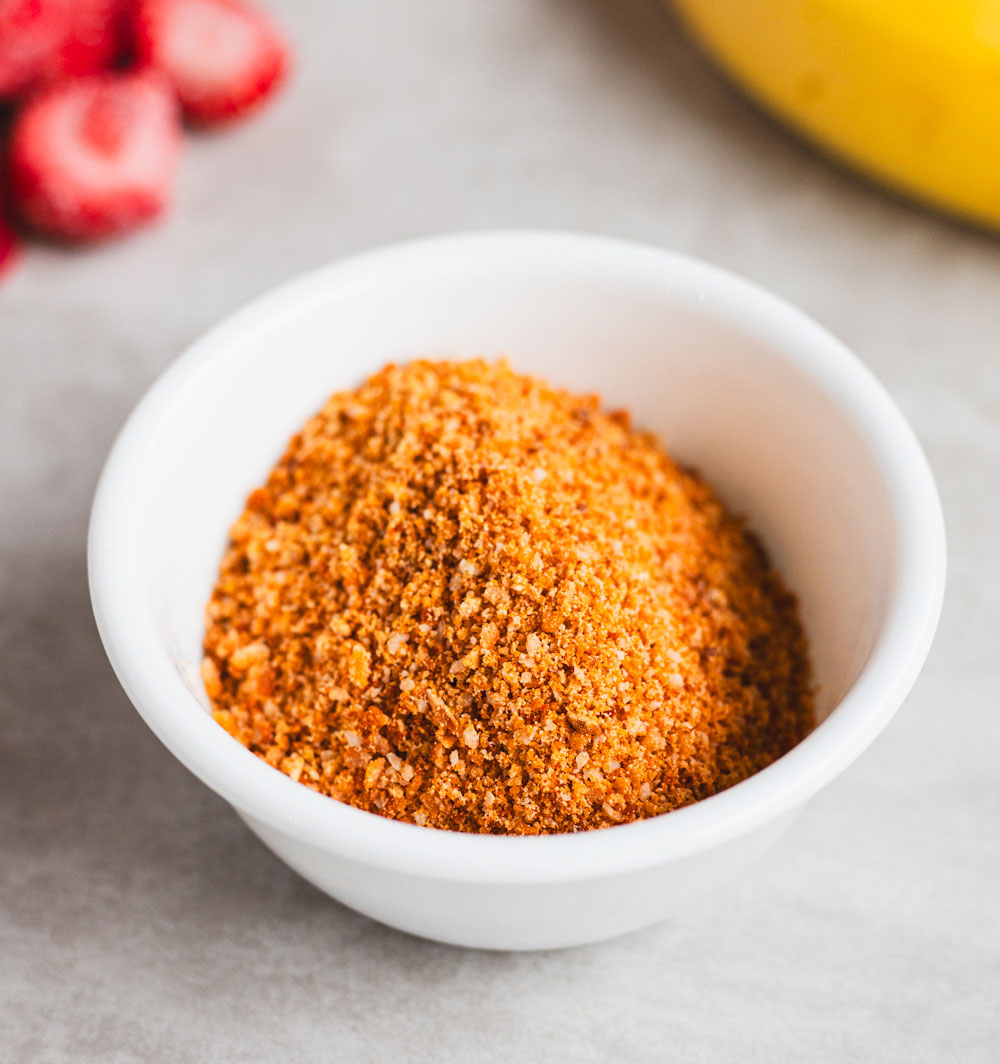
Do not eat seed whole. Powdered avocado seeds have a tangy, slightly bitter taste. |
| Use for… |


Very firm. Ready to eat in about 5 days.
Firm. Ready to eat in about 3 days.
Somewhat firm. Ready to eat in 24 hours.
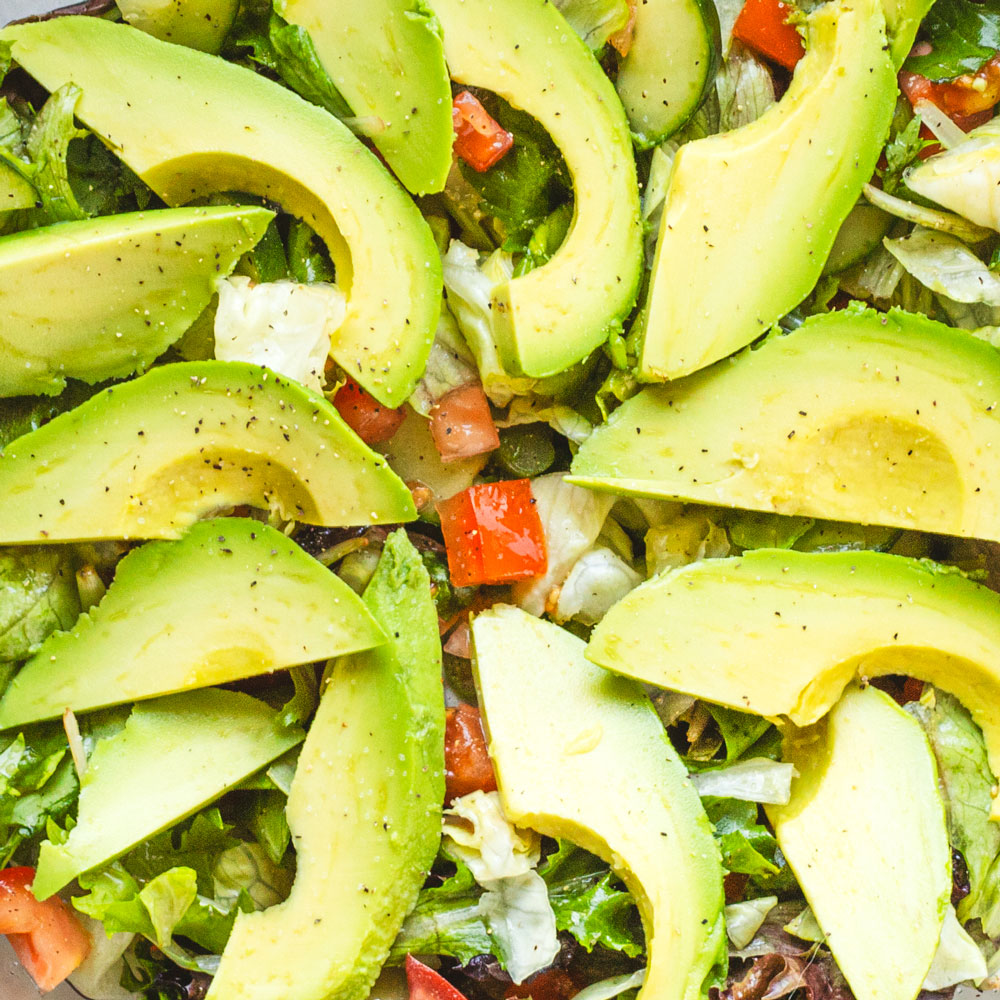
Somewhat soft. Ready for slicing.

Softer. Ready for all uses.
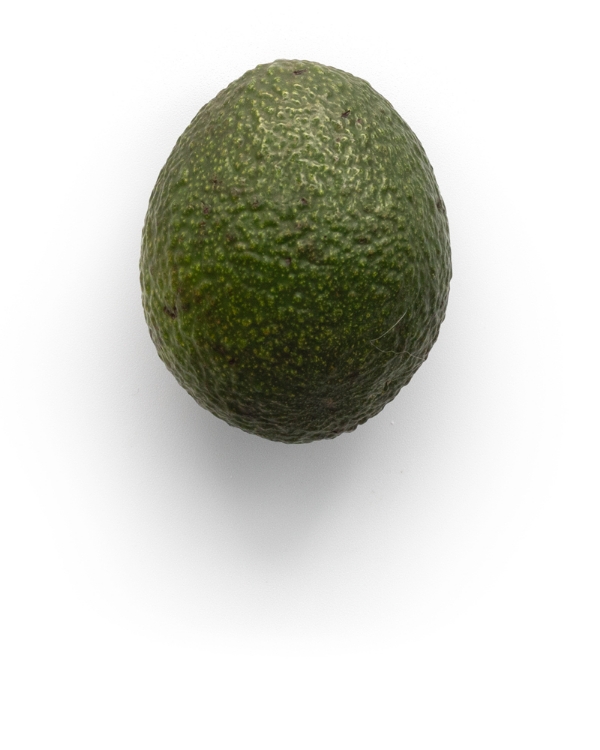
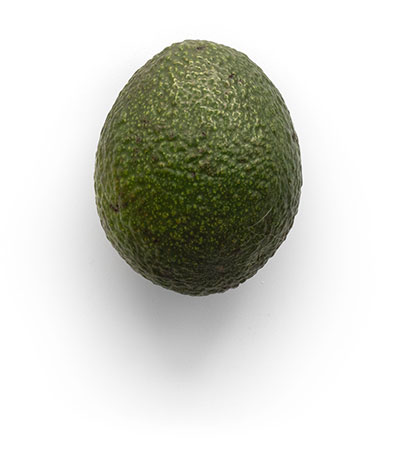
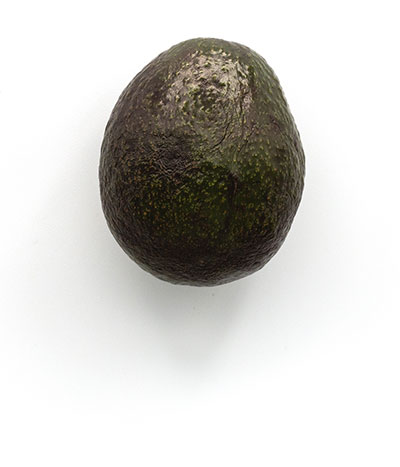
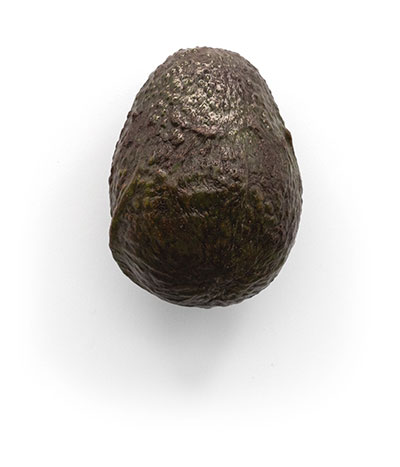
When an avocado is bright green and hard to the touch, it is not ripe. It will need 4-5 days to ripen.
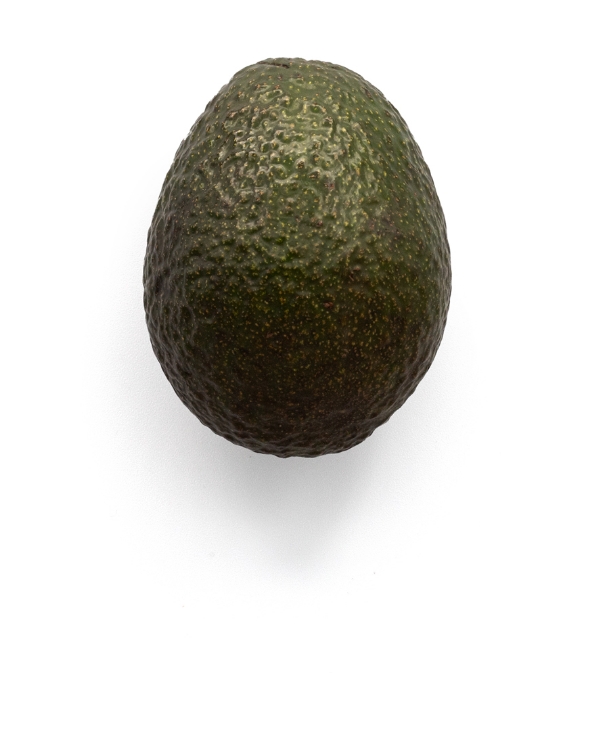
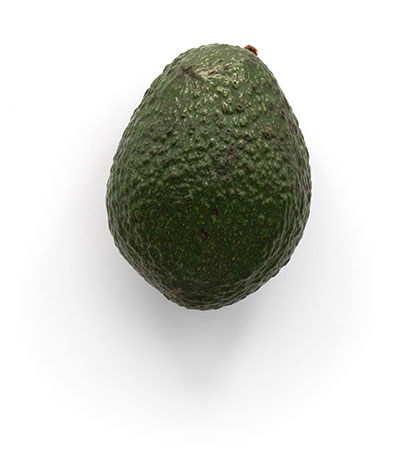
When an avocado is firm but dark green, it is almost ripe. It will ripen in 1-2 days.

Once an avocado is dark green and a little soft to the touch it is perfectly ripe and ready to eat!
If an avocado is mushy and brown, it has gone bad. Once you open it you will see it is inedible.

If it is difficult to remove the stem, the avocado still needs more time.
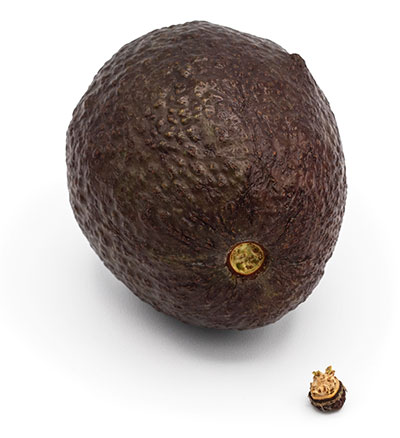
If the stem comes out easily and is green or golden underneath, the avocado is good and ripe.

If the avocado is dark brown or black under the stem, it’s overripe.

If you haven’t scooped out the avocado flesh yet, don’t! Leave it in the skin and keep the pit intact if you can. The skin and the pit block oxygen from reaching the flesh, which can help reduce browning. Preserve the rest by placing plastic wrap directly on the flesh so there’s no chance of air getting to it. Store in the fridge and use within 2 days.
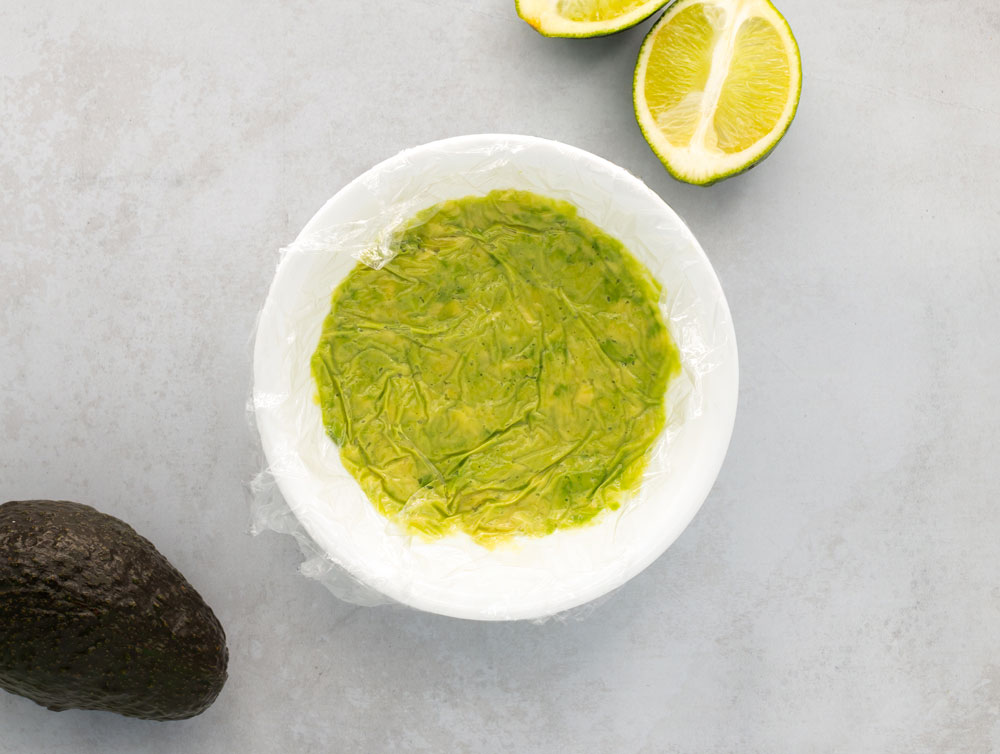
If you've already scooped out the avocado flesh, spoon mashed avocado into an open container. Then, instead of topping the container with a lid, place a piece of plastic wrap directly on the avocado, making sure there are no air bubbles. Your avocado should remain green for at least 2 days in the refrigerator. To slow the process down further, you can add an acid like lemon or lime juice. And if the mixture does look brown, simply scraping off the top layer should reveal green avocado below.

Put your avocado half in an airtight container with a sliced onion and refrigerate it. The fumes from the onion slow down the browning process. Your avocado will stay green for at least 2 days, but it may absorb the onion flavor. That could be a benefit, depending on how you plan to use it!

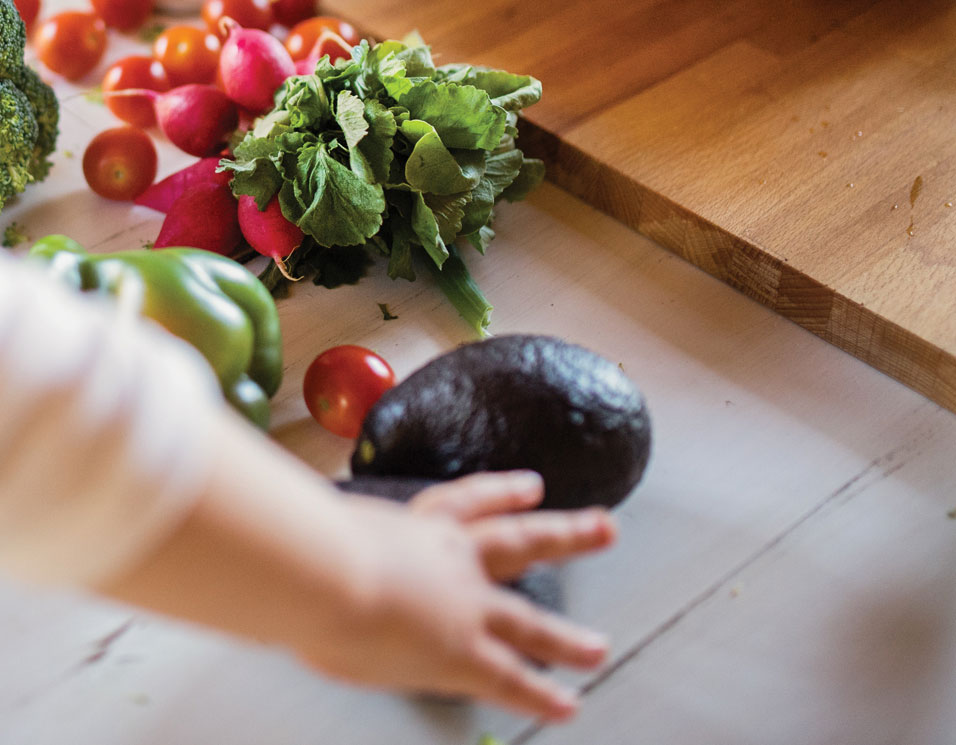
Touch the outside of the avocado. What does it feel like? Is it smooth, rough, pebbly?

Is the inside the same as the outside? How is it the same? How is it different?

Try new to explore how avocado tastes.