
 A Simple, Colorful Meal
Your Whole Family Can Enjoy
A Simple, Colorful Meal
Your Whole Family Can Enjoy Why You Should Try It
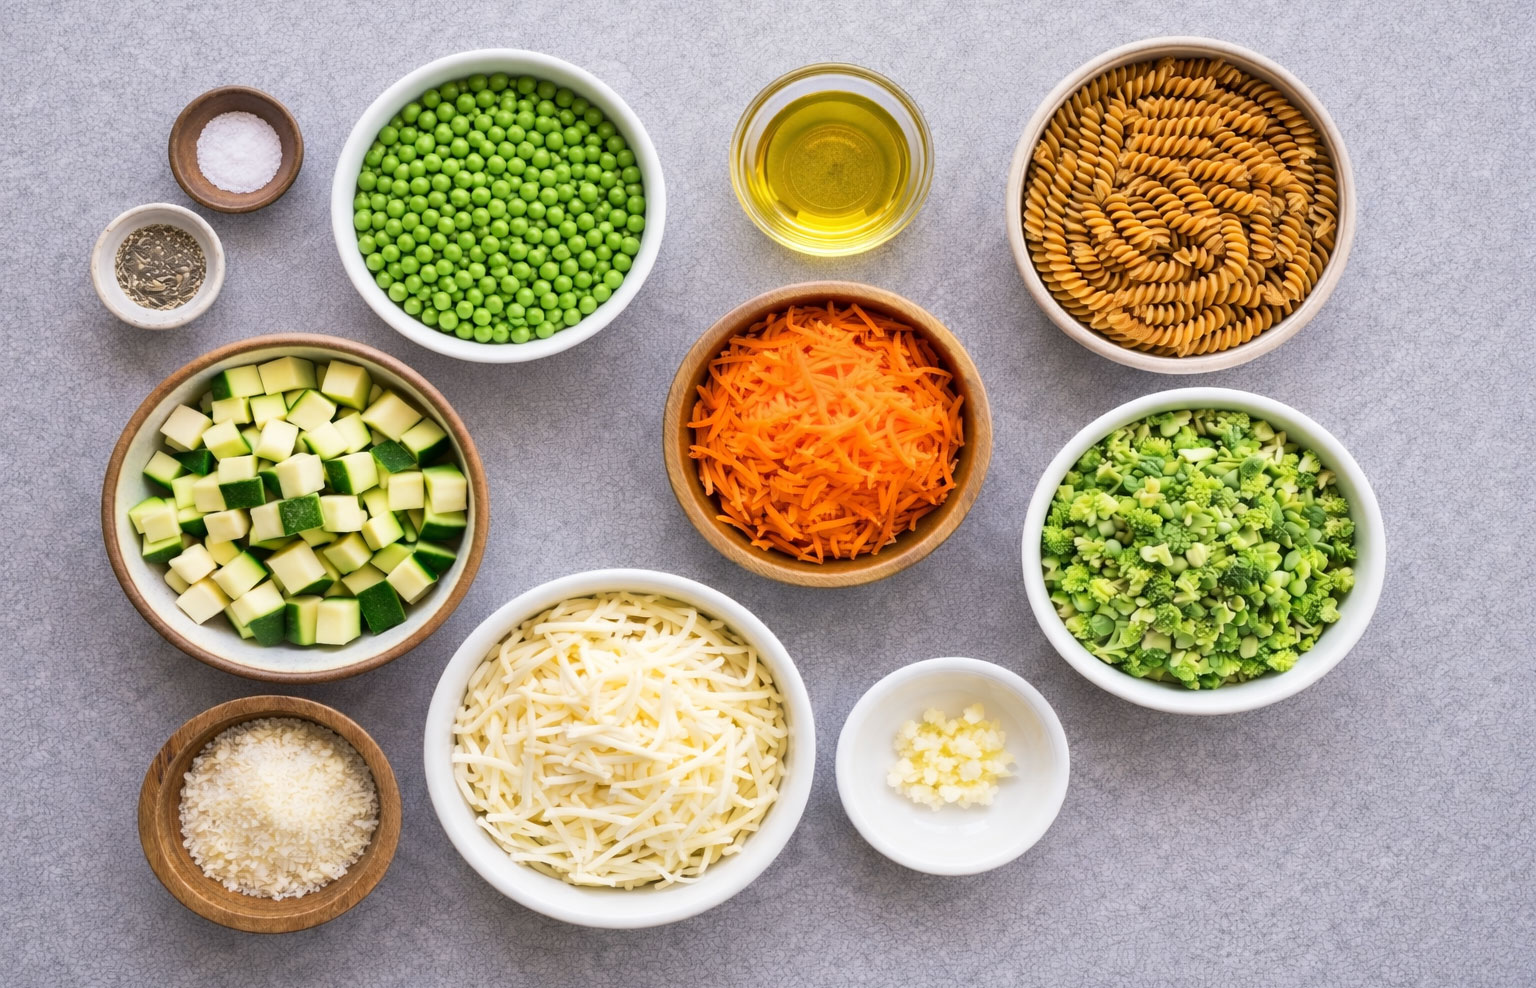
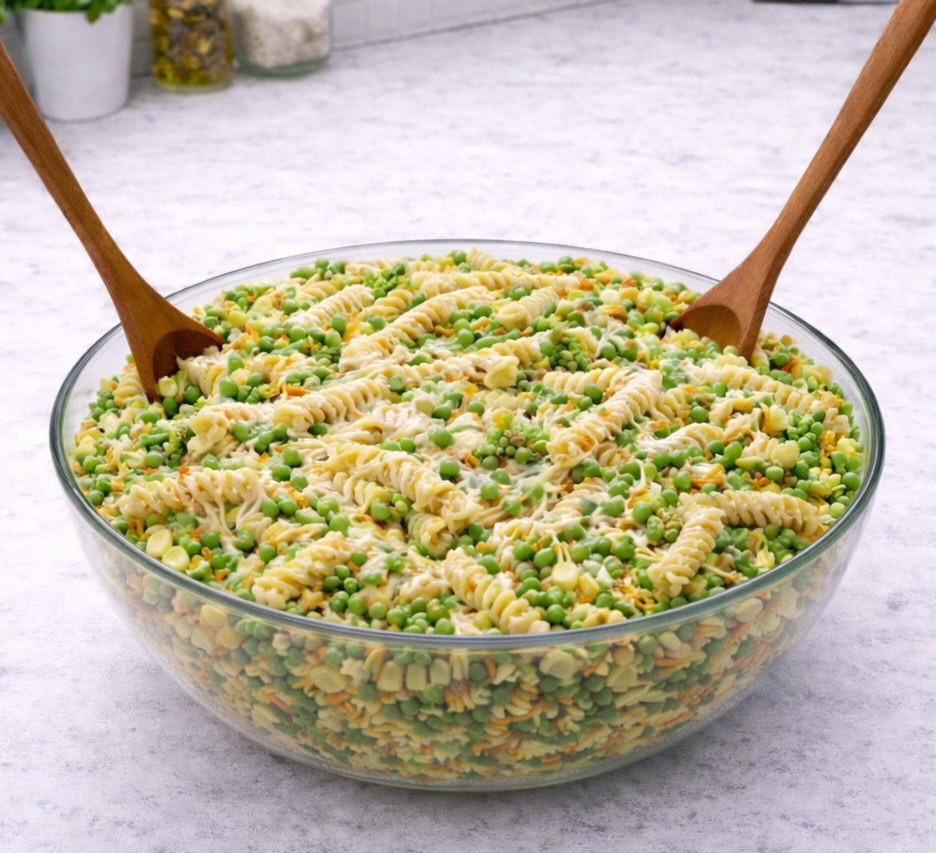
 Ingredients
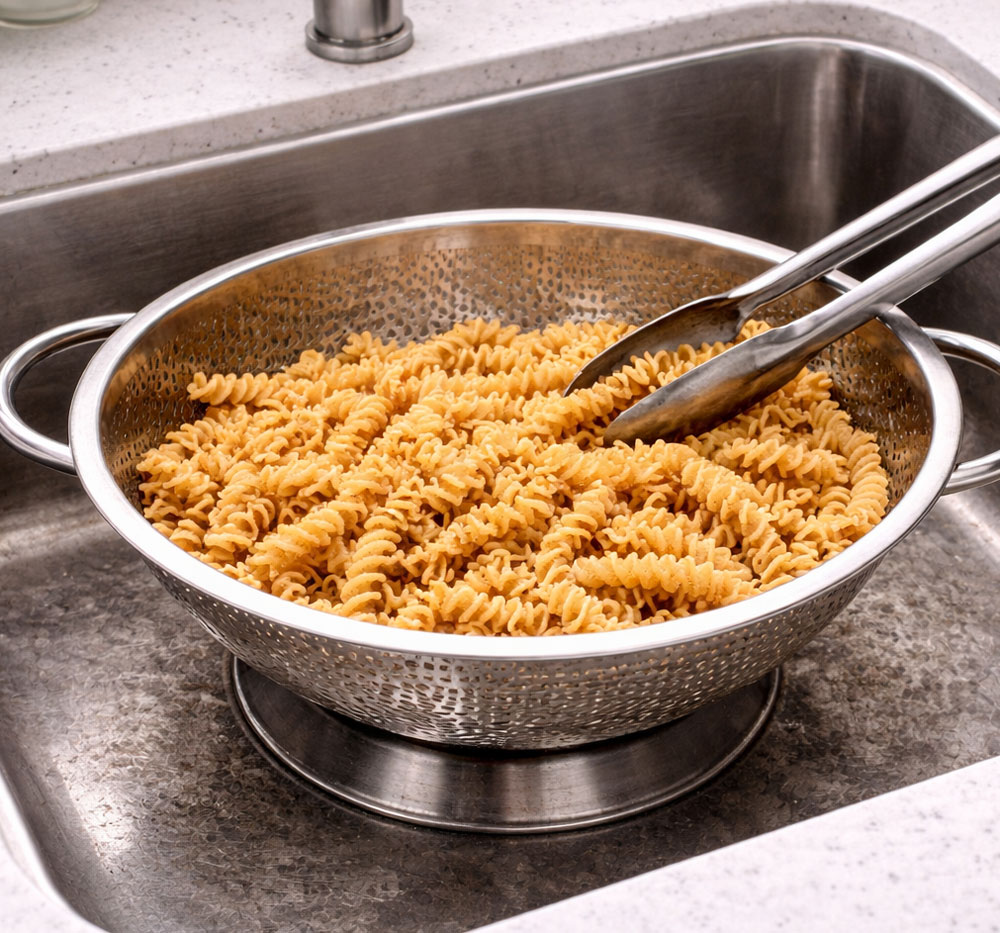
Cook pasta according to package directions. Drain and set aside.
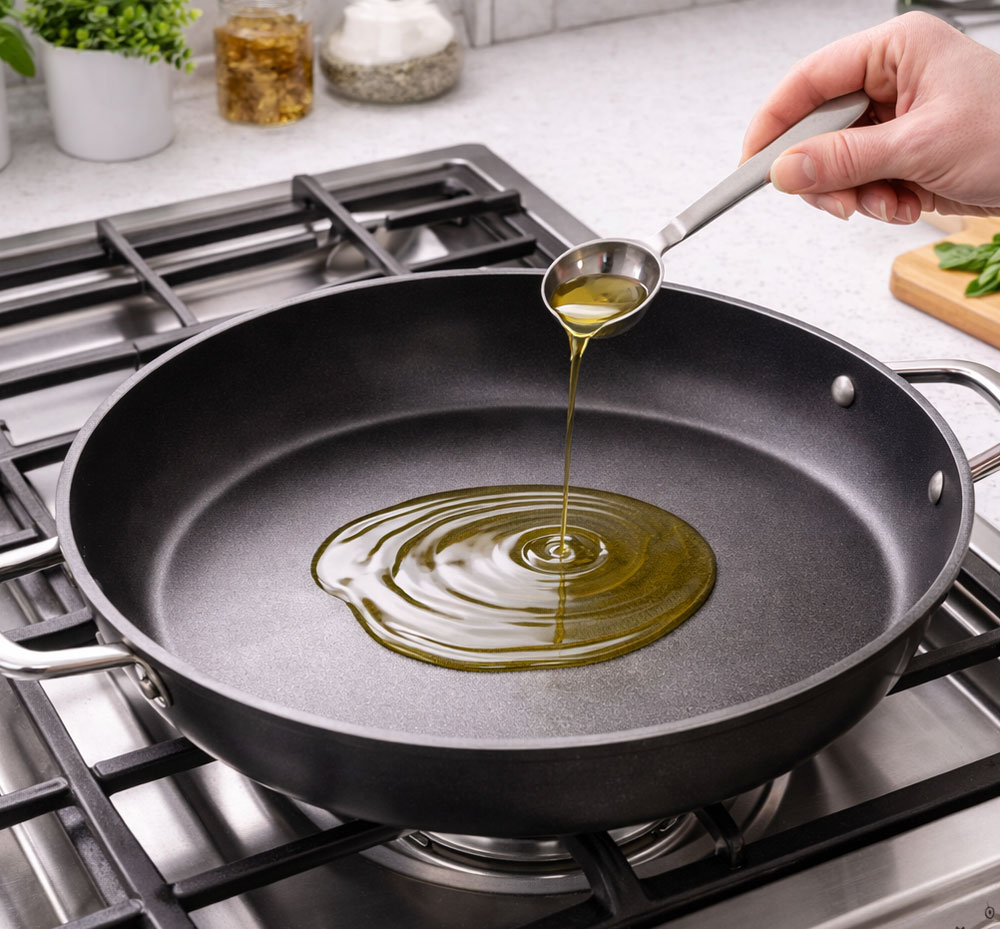
While pasta cooks, heat olive oil in a large pan over medium heat.

Add garlic (if using) and cook for 30 seconds.
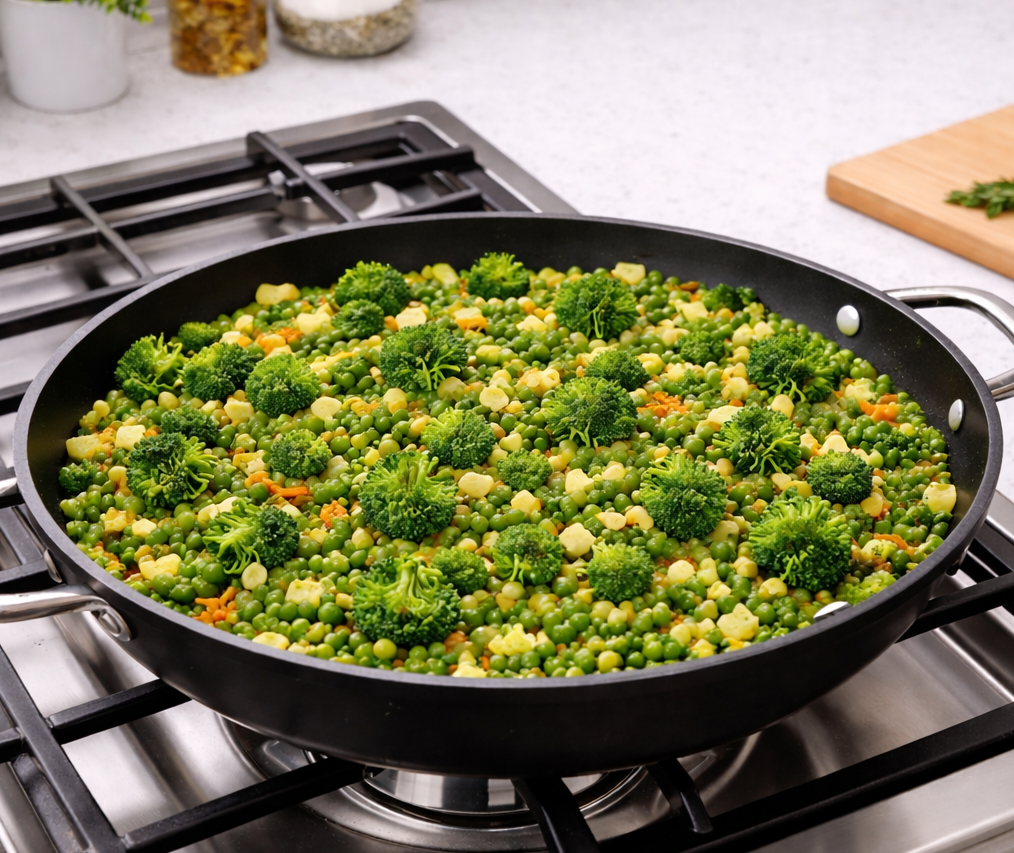
Add broccoli, carrots, zucchini, and peas. Cook for 4–6 minutes until tender.
Stir the cooked pasta into the vegetables, then sprinkle in mozzarella or mild cheddar cheese and stir until melted.
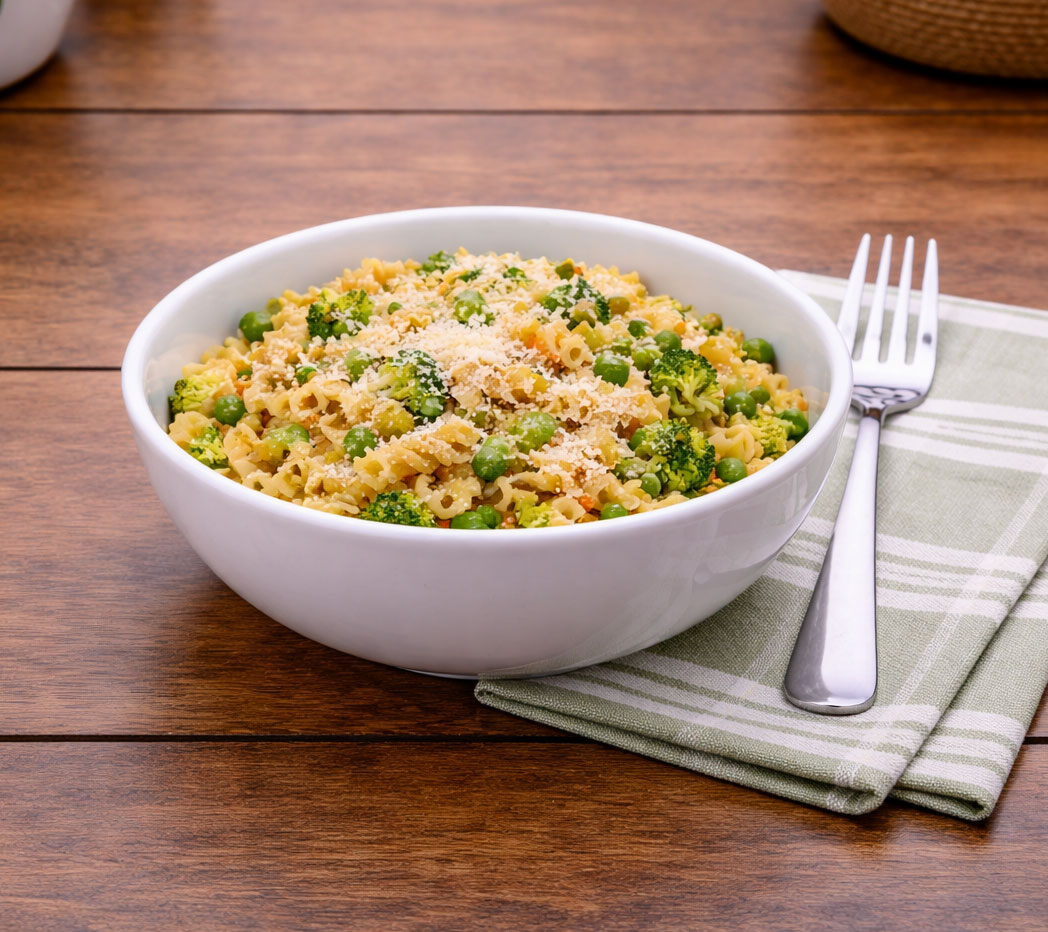
Let cool slightly, sprinkle Parmesan cheese on top (if desired), then serve.
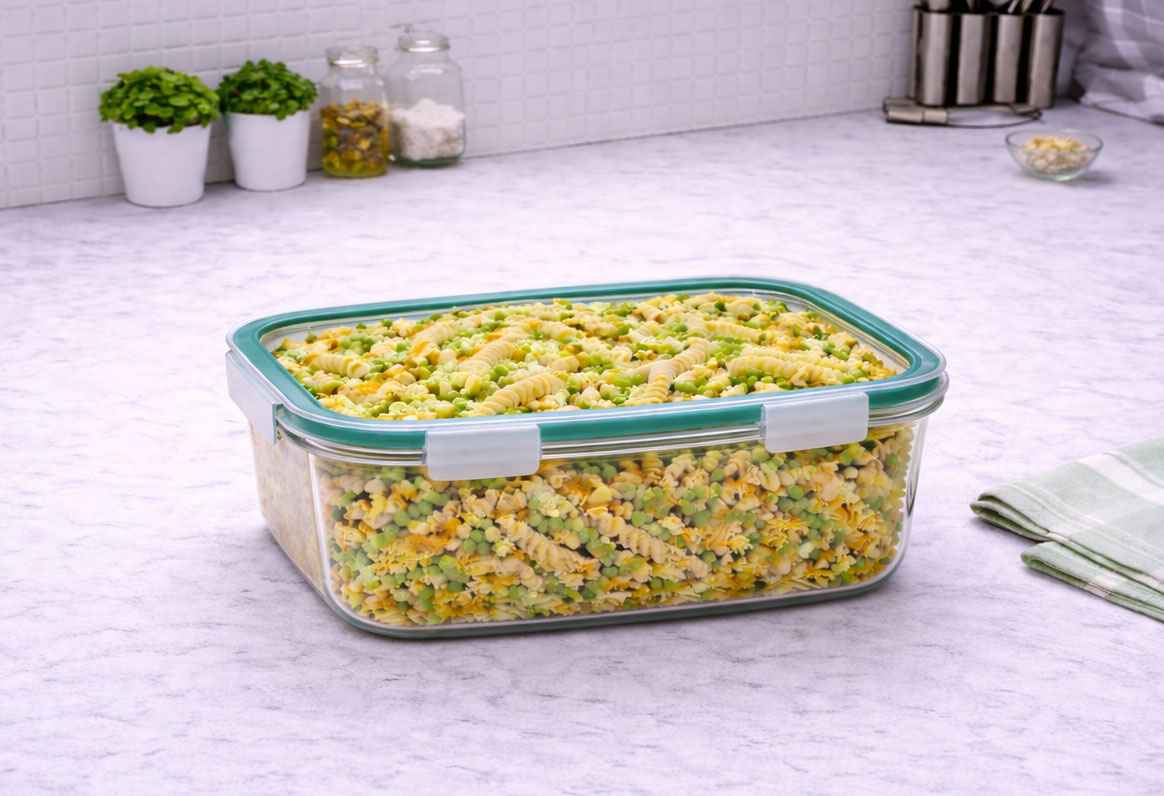
 Got Leftovers?
 Make It Kid-Friendly