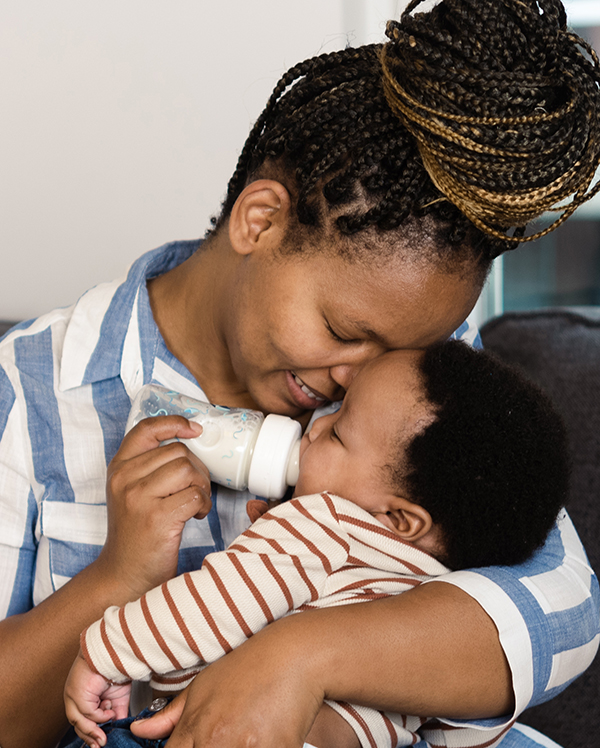
Paced bottle-feeding helps your baby eat slowly and take breaks – just like they would if they were breastfeeding. It can also help prevent overfeeding and tummy upset. Follow these simple steps to make feeding time safe, calm, and comfortable for both you and your baby.
Watch for hunger cues
Feed your baby when they show signs of hunger instead of following a strict schedule. Hunger cues are signs your baby shows to communicate they are hungry, including:
Bringing hands to their mouth
Bending arms and legs toward their body
Making sucking sounds
Puckering lips
Turning their head and looking for the nipple (rooting)
Always hold your baby during feedings
Never prop up the bottle or leave your baby unattended with a bottle. Holding your baby close helps them feel safe and loved.
Keep your baby sitting up
Hold your baby in an upright or seated position during feedings, not lying down. This helps your baby swallow safely and reduces the chance of choking and ear infections.
Let your baby lead
Instead of forcing the bottle into their mouth, gently touch the bottle nipple to your baby’s lips and let them open their mouth and take it in on their own. Use a slow-flow nipple so milk comes out more like it does from the breast.
Hold the bottle flat
Keep the bottle in a horizontal (sideways) position so the nipple is only partially full with milk. This helps your baby control how much milk they get.
Allow pauses and breaks
Babies like to take breaks during feedings. When your baby stops sucking, tip the bottle down or remove it from their mouth. Wait until they show signs they’re ready to start again – like sucking on their lips or reaching for the nipple. You can also leave the bottle in your baby’s mouth and lower the level of the bottle so the milk leaves the nipple. When your baby starts to suck again, raise the bottle back up so milk flows back in the nipple.
Switch sides halfway through
About halfway through the feeding, switch the side you’re holding your baby on. This stimulates your baby’s senses and helps them use both eyes and sides of their body.
Take your time
Feeding should take about 15 to 20 minutes. This gives your baby’s brain time to notice when their tummy is full.
Watch for fullness cues
Look for signs that your baby is full and finished eating, including:
Slowing or stopping sucking
Relaxing their hands and arms
Turning away from the nipple
Pushing the bottle away
Falling asleep
Respect when your baby is done
When your baby shows cues they are full and done eating, don’t try to get them to finish the bottle. If you are unsure if your baby is done, try taking the bottle out of their mouth. If they’re finished, they won’t try to take it back.
Remember,
Every baby is different. Paying attention to your baby’s cues helps make feeding time more enjoyable and helps your baby grow and thrive. If you have questions about feeding your baby, reach out to WIC for more information and support.
For the right breast, lie on your right side with your baby facing you.
Pull your baby close. Your baby’s mouth should be level with your nipple.
In this position, you can cradle your baby’s back with your left arm and support yourself with your right arm and/or pillows.
Keep loose clothing and bedding away from your baby.
Reverse for the left breast.
This hold is useful when:
You had a C-section
You want to rest while baby feeds
You are breastfeeding in the middle of the night
You and your baby are comfortable in this position
Cross-Cradle Hold
For the right breast, use your left arm to hold your baby’s head at your right breast and baby’s body toward your left side. A pillow across your lap can help support your left arm.
Gently place your left hand behind your baby’s ears and neck, with your thumb and index finger behind each ear and your palm between baby’s shoulder blades. Turn your baby’s body toward yours so your tummies are touching.
Hold your breast as if you are squeezing a sandwich. To protect your back, avoid leaning down to your baby. Instead, bring your baby to you.
As your baby’s mouth opens, push gently with your left palm on baby’s head to help them latch on. Make sure you keep your fingers out of the way.
Reverse for the left breast.
This hold is useful when:
Your baby is premature
Your baby has a weak suck
Your baby needs help to stay latched
Your baby needs extra head support
You and your baby are comfortable in this position
Clutch or “Football” Hold
For the right breast, hold your baby level, facing up, at your right side.
Put your baby’s head near your right nipple and support their back and legs under your right arm.
Hold the base of your baby’s head with your right palm. A pillow underneath your right arm can help support your baby’s weight.
To protect your back, avoid leaning down to your baby. Bring baby to you instead.
Reverse for the left breast.
This hold is useful when:
You had a C-section
You have large breasts
You have flat or inverted nipples
You have a strong milk let-down
You are breastfeeding twins
Your baby likes to feed in an upright position
Your baby has reflux
You and your baby are comfortable in this position
Cradle Hold
For the right breast, cradle your baby with your right arm. Your baby will be on their left side across your lap, facing you at nipple level.
Your baby’s head will rest on your right forearm with your baby’s back along your inner arm and palm.
Turn your baby’s tummy toward your tummy. Your left hand is free to support your breast, if needed. Pillows can help support your arm and elbow.
To protect your back, avoid leaning down to your baby. Instead, bring your baby to you.
Reverse for the left breast.
This hold is useful when:
Your baby needs help latching on
You and your baby are comfortable in this position
Laid-Back Hold
Lean back on a pillow with your baby’s tummy touching yours and their head at breast level. Some moms find that sitting up nearly straight works well. Others prefer to lean back and lie almost flat.
You can place your baby’s cheek near your breast, or you may want to use one hand to hold your breast near your baby. It’s up to you and what you think feels best.
Your baby will naturally find your nipple, latch, and begin to suckle.
This hold is useful when:
Your baby is placed on your chest right after birth
You have a strong milk let-down
You have large breasts
You and your baby are comfortable in this position


Share this link via: