Skip to Content Skip to Footer
LiveWell WIC logo
Livewell Wic
  • Home
  • Ellyn Satter
    • Ellyn Satter
      Prenatal / Postpartum
    • Ellyn Satter
      Newborn / Infant
    • Ellyn Satter
      Older Baby / Almost Toddler
    • Ellyn Satter
      Toddler / Preschooler
  • Breastfeeding
  • Eat·Grow·Live Healthy
    • Eat·Grow·Live Healthy
      Women
    • Eat·Grow·Live Healthy
      Infants
    • Eat·Grow·Live Healthy
      Children
    • Eat·Grow·Live Healthy
      Fathers
  • Live Well Blog
  • Español
Baby Food banner

Ten Fabulous Finger Foods for Baby

  • Home
  • Live Well Blog
  • Ten Fabulous Finger Foods for Baby
September 8, 2021 Infant

child hand reaching cereal

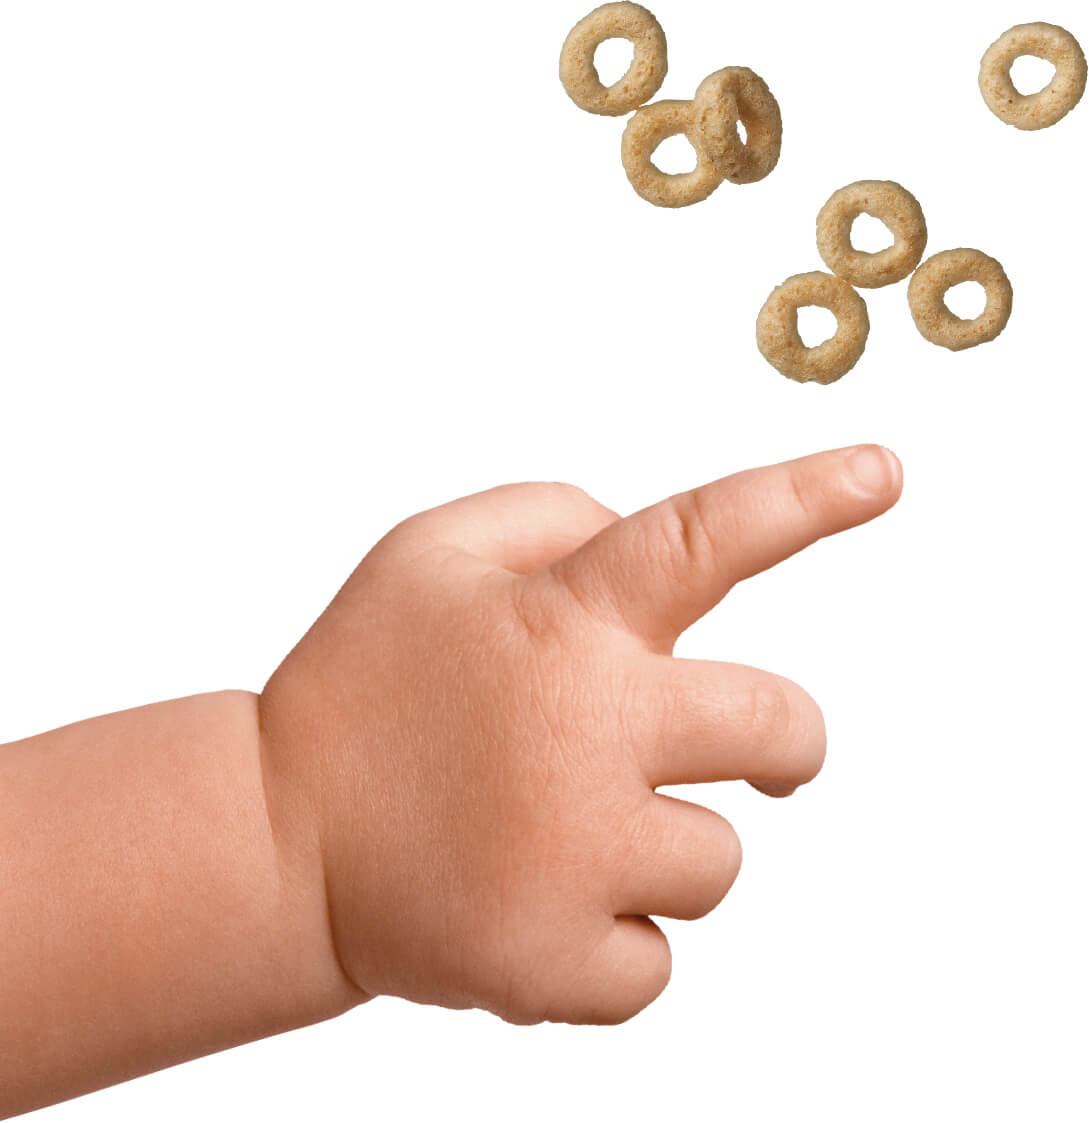
Even though the stores are chock-full of baby food, most babies are ready to move on from pureed and mashed to finger foods after a few short months. That’s right. Somewhere between 8 to 11 months of age, most babies master the skills to pick up food, bring it to their mouths, chew, and swallow it.

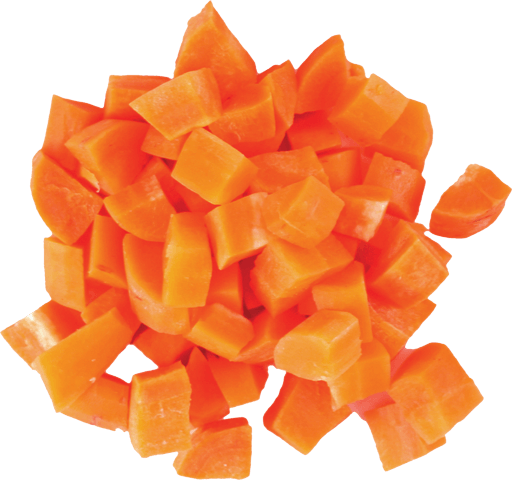
But isn’t it just easier — and less messy — to spoon-feed? Maybe, but it’s better for baby to feed themselves at least part of the time. Research shows it helps little ones get the right amount of food for their growing bodies and it boosts muscle development and confidence with eating. But each child is on his own timeline. For example, in one study, 68 percent of babies first reached out for food at 6 months but by 11 months 98 percent were doing it. So don’t be caught off guard. Be ready with these 10 nutritious and delicious finger foods.

10 Fabulous Finger Foods for Baby

  • 1 STARTER FOODS: When you first offer baby finger foods make sure they are easy to grasp. Whole grain cereals with a hole in the middle like Cheerios work well as do puffed cereal. Put a few on baby’s high chair and see if they take the bait. Once they show interest and ability, you can move onto other foods.
  • 2 MEAT: Because baby’s iron needs increase at 6 months, meat, a rich source of iron, makes an ideal finger food. Stick with soft meats (drumstick, pork and ground meat) that can be chopped into small pieces. Tough or round meats are choking hazards.
  • 3 BEANS: Nutrient-rich beans make a perfect food for baby. You can rinse and drain them from a can or cook them from dried and add any spices your family enjoys. (But don’t add salt.) Be sure to cut bigger beans in half.
  • 4 FRUIT: Chop ripe cantaloupe*, strawberries*, pears, peaches*, oranges*, mango*, papaya*, and any soft fruit for baby to eat. Be sure to include vitamin C rich sources with iron-fortified cereals to increase the body’s ability to use iron.
  • 5 VEGETABLES: Even though raw veggies are too hard for babies, steamed and chopped veggies work well. One convenient veggie is frozen peas. Simply defrost straight from the bag or cook and let cool. Getting baby used to the taste and texture of vegetables now will help them like them later on.
  • 6 EGGS: Easy to make and a good source of quality protein, eggs are a must to have on hand. Serve them scrambled, tear off pieces of an omelet or chop hard-boiled eggs.
  • 7 GRAINS: Whether it’s bread, pasta, tortillas, or cereal, grains are an important part of baby’s diet. Choose whole grain sources as often as you can, such as whole wheat bread (look for whole wheat as the first ingredient), corn, or whole wheat tortillas and cereals made from whole wheat or oats.
  • 8 SWEET POTATOES: Try sweet potatoes for an added boost in vitamins A and C. Wash the potato and poke several times on both sides with a fork. Microwave 2-5 minutes on each side, depending on its size. Let cool and cut in half, spooning out the cooked potato.
  • 9 FISH: Not only is fish rich in healthy fats needed for baby’s brain (called DHA), it is soft and easy to eat. Try baking or microwaving fresh or frozen fish. Or make tuna salad or salmon cakes from canned fish, which is less expensive. (Remove the bones or buy without bones.) Just remember to choose low-mercury sources like salmon, tilapia, catfish, trout, and canned light tuna.
  • 10 CHEESE: For snack time offer natural grated cheeses with fruit. It makes a calcium-rich finger food that baby is sure to love.
diced carrot pieces

5 Tips to
Prevent Choking

Prevent Choking

#1 Always supervise baby at mealtime.

#2 Chop food into half-inch pieces.

#3 Avoid round, firm food unless completely chopped (like hotdogs and grapes). Remember to cut round food like cheese sticks lengthwise.

#4 Avoid eating while running, talking or laughing.

#5 Make sure caregivers are CPR certified. green leg

Adapted from Fearless Feeding: How to Raise Healthy Eaters From High Chair to High School

You May Also Like...

April 1, 2026

When to Start Peanut and Egg to Help Prevent Allergies

How Starting Solid Foods at the Right Time May Help Prevent Food Allergies Years ago, parents were told to wait before giving babies foods that might cause allergies. Some pregnant…

Read More
1
December 17, 2025

The Basics of Paced Bottle-Feeding

The Basics of Paced Bottle-Feeding Paced bottle-feeding helps your baby eat slowly and take breaks – just like they would if they were breastfeeding. It can also help prevent overfeeding…

Read More
4
December 3, 2025

How Do I Know If My Baby Could Be Tongue-Tied?

How Do I Know If My Baby Could Be Tongue-Tied?A tongue-tie happens when the little string under your baby’s tongue is too tight or short. This can make it hard…

Read More
0
  • Infant
    • When to Start Peanut and Egg to Help Prevent Allergies
    • The Basics of Paced Bottle-Feeding
    • How Do I Know If My Baby Could Be Tongue-Tied?
    • Protect Your Baby from Cronobacter
    • Exploring the World with Baby – Sensory Play
  • Children
    • Shopping With Kids: A Simple Way to Help Them Like More Foods
    • Pumpkin Fun: Free and Healthy Activities for Kids Under 5
    • Letting Your Child Play with Food Can Be a Good Thing
    • Is Snack Time Treat Time?
    • Fun Ways to Learn About Healthy Food and Get Moving!
  • General /Family
    • The 2025-2030 Dietary Guidelines for Americans – What Families Need to Know
    • Finding Calm When Life Gets Busy: Stress-Management for Parents
    • February Is National Heart Month: Simple Ways to Show Your Heart Some Love
    • 10 Ways to Enjoy Avocados – And Helpful Tips to Feed with Confidence
    • Food, Feelings, and Finding Balance: Understanding Disordered Eating
  • Women
    • Newborn Hunger Cues: How to Know When Your Baby Is Hungry or Full
    • How to Know Your Baby Is Getting Enough Breastmilk
    • Breastfeeding Through Growth Spurts and Sleep Changes
    • Baby Blues… or Is It Something More?
    • Gut Health and Gestational Diabetes
  • Recipes
    • Heart-Healthy Recipe: Banana Berry Oatmeal Cups
    • Is the Chia Seed Challenge Worth It?
    • Extra Vegetables Quiche
    • Easy Pumpkin Muffins
    • Confetti Bean Salad
LiveWell WIC program logo

Contact Us

USDA is an equal opportunity provider, employer, and lender.

Cookie PolicyAbout UsPrivacy PolicyTerms of Agreement

© Brush Art Corporation

  • Email
  • SMS
If you are using multiple emails, separate them with commas.

    SMS Communication Consent

    Share

    Share this link via:

    Side Lying Hold

    Side-Lying Hold

    1. For the right breast, lie on your right side with your baby facing you.
    2. Pull your baby close. Your baby’s mouth should be level with your nipple.
    3. In this position, you can cradle your baby’s back with your left arm and support yourself with your right arm and/or pillows.
    4. Keep loose clothing and bedding away from your baby.
    5. Reverse for the left breast.

    This hold is useful when:

    • You had a C-section
    • You want to rest while baby feeds
    • You are breastfeeding in the middle of the night
    • You and your baby are comfortable in this position
    Wooden carved fork resting on the edge

    Cross-Cradle Hold

    1. For the right breast, use your left arm to hold your baby’s head at your right breast and baby’s body toward your left side. A pillow across your lap can help support your left arm.
    2. Gently place your left hand behind your baby’s ears and neck, with your thumb and index finger behind each ear and your palm between baby’s shoulder blades. Turn your baby’s body toward yours so your tummies are touching.
    3. Hold your breast as if you are squeezing a sandwich. To protect your back, avoid leaning down to your baby. Instead, bring your baby to you.
    4. As your baby’s mouth opens, push gently with your left palm on baby’s head to help them latch on. Make sure you keep your fingers out of the way.
    5. Reverse for the left breast.

    This hold is useful when:

    • Your baby is premature
    • Your baby has a weak suck
    • Your baby needs help to stay latched
    • Your baby needs extra head support
    • You and your baby are comfortable in this position
    Woman with shopping bag

    Clutch or “Football” Hold

    1. For the right breast, hold your baby level, facing up, at your right side.
    2. Put your baby’s head near your right nipple and support their back and legs under your right arm.
    3. Hold the base of your baby’s head with your right palm. A pillow underneath your right arm can help support your baby’s weight.
    4. To protect your back, avoid leaning down to your baby. Bring baby to you instead.
    5. Reverse for the left breast.

    This hold is useful when:

    • You had a C-section
    • You have large breasts
    • You have flat or inverted nipples
    • You have a strong milk let-down
    • You are breastfeeding twins
    • Your baby likes to feed in an upright position
    • Your baby has reflux
    • You and your baby are comfortable in this position
    Cartoon-style abstract bird silhouette

    Cradle Hold

    1. For the right breast, cradle your baby with your right arm. Your baby will be on their left side across your lap, facing you at nipple level.
    2. Your baby’s head will rest on your right forearm with your baby’s back along your inner arm and palm.
    3. Turn your baby’s tummy toward your tummy. Your left hand is free to support your breast, if needed. Pillows can help support your arm and elbow.
    4. To protect your back, avoid leaning down to your baby. Instead, bring your baby to you.
    5. Reverse for the left breast.

    This hold is useful when:

    • Your baby needs help latching on
    • You and your baby are comfortable in this position
    Abstract geometric shapes in pastel

    Laid-Back Hold

    1. Lean back on a pillow with your baby’s tummy touching yours and their head at breast level. Some moms find that sitting up nearly straight works well. Others prefer to lean back and lie almost flat.
    2. You can place your baby’s cheek near your breast, or you may want to use one hand to hold your breast near your baby. It’s up to you and what you think feels best.
    3. Your baby will naturally find your nipple, latch, and begin to suckle.

    This hold is useful when:

    • Your baby is placed on your chest right after birth
    • You have a strong milk let-down
    • You have large breasts
    • You and your baby are comfortable in this position