Skip to Content Skip to Footer
LiveWell WIC logo
Livewell Wic
  • Home
  • Ellyn Satter
    • Ellyn Satter
      Prenatal / Postpartum
    • Ellyn Satter
      Newborn / Infant
    • Ellyn Satter
      Older Baby / Almost Toddler
    • Ellyn Satter
      Toddler / Preschooler
  • Breastfeeding
  • Eat·Grow·Live Healthy
    • Eat·Grow·Live Healthy
      Women
    • Eat·Grow·Live Healthy
      Infants
    • Eat·Grow·Live Healthy
      Children
    • Eat·Grow·Live Healthy
      Fathers
  • Content Suite
  • Español
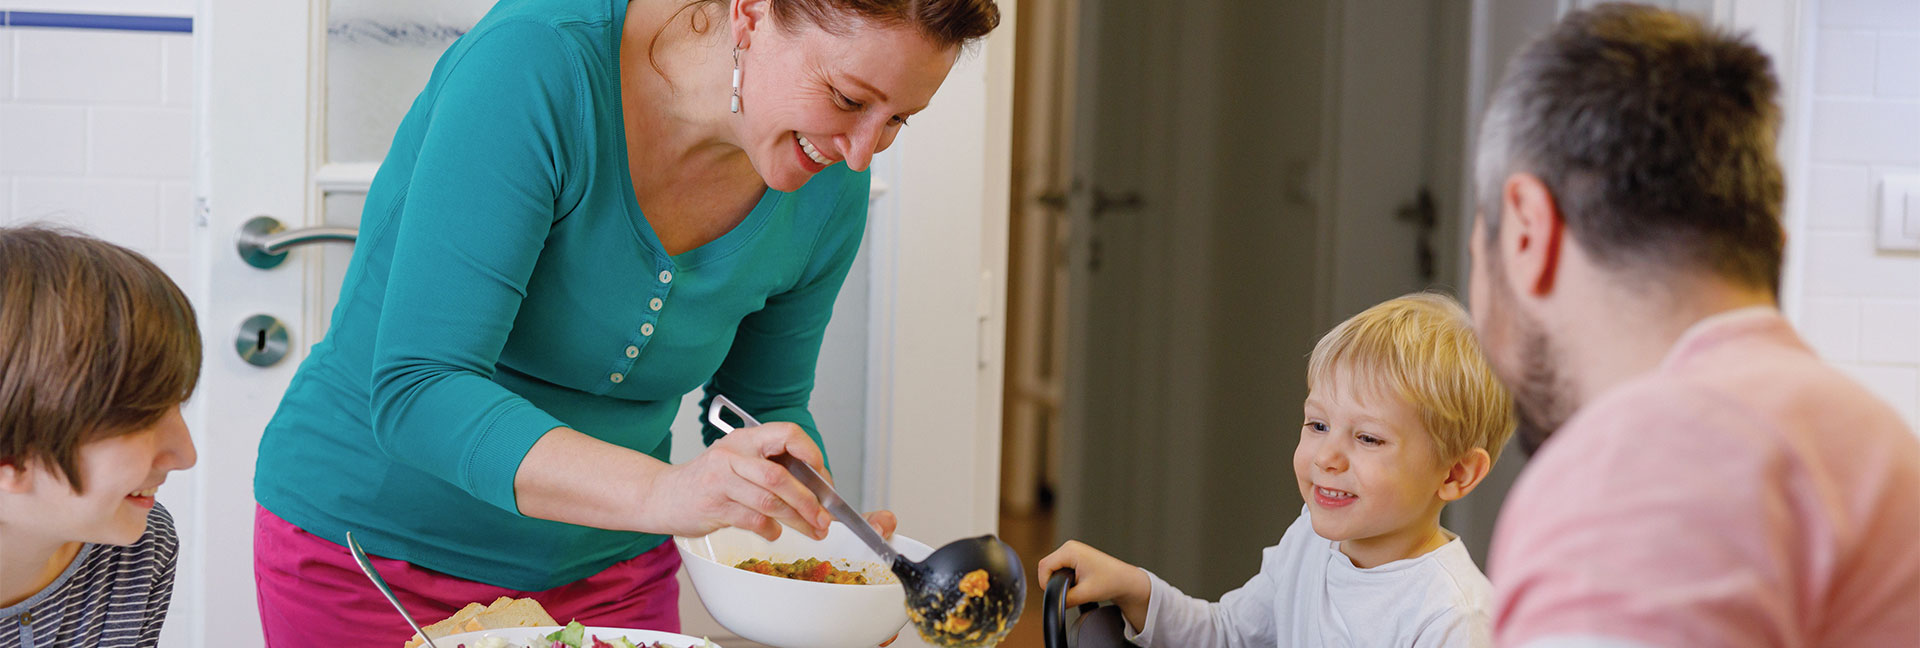
Woman serving food to smiling family at table

Vegetable Jambalaya

  • Home
  • Content Suite
  • Vegetable Jambalaya
December 4, 2024 Recipes

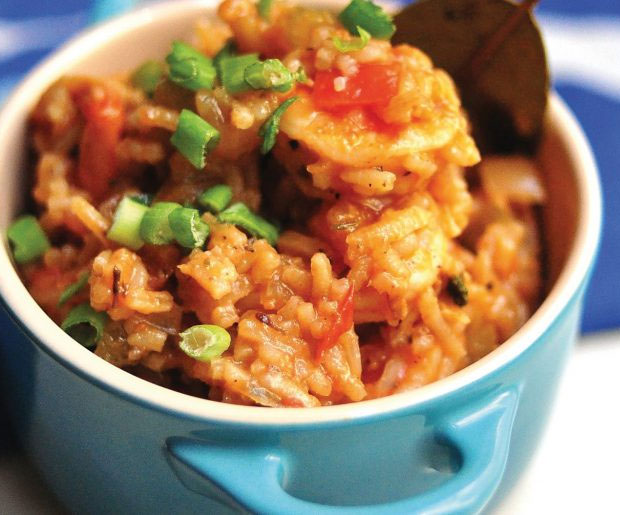
Bowl of rice with vegetables and herbs
Abstract wave shapes flowing horizontally in blue palette
Serves 6!

This vegetable heavy jambalaya is a fast, throw-everything-in the-pot kind of meal.

It’s spicy, savory and deeply satisfying on a chilly winter day. The leftovers are great for making burritos with whole grain tortillas or warmed up with a fried egg on top.

Ingredients:

  • 2 tbsp vegetable oil
  • 1 medium onion, chopped
  • 1 green bell pepper, chopped
  • 3 stalks celery, chopped
  • 3 cloves garlic, finely chopped
  • ½ small green chili, finely chopped
  • 2 large tomatoes, chopped
  • 2 bay leaves
  • 1 tsp paprika
  • 1 tsp garlic powder
  • 1 tsp cayenne pepper
  • ½ tsp dried thyme
  • ½ tsp dried oregano
  • 1 tsp salt
  • 1 tsp freshly ground pepper
  • 1 tsp Worcestershire sauce or soy sauce
  • ¾ cup long grain rice
  • 3 cups vegetable broth or chicken stock
Smiling woman enjoying a bowl of cereal

Directions

  • Heat the oil in a large high-sided saucepan over medium-high heat.
  • Add the onion, pepper, and celery, then cook for about 5 minutes, until they become translucent but not brown.
  • Add the rest of the ingredients except for the rice and broth. Let everything cook for about 1 minute to let some of the tomato juices release.
  • Add the rice and slowly pour in the broth.
  • Reduce heat to medium and let the dish cook until the rice absorbs all the liquid, about 20 to 25 minutes.
Circle with the word Tip centered inside
Add a boost of fiber by adding in a can of black beans. Drain and rinse the beans, then throw them in when there’s about 15-minutes remaining to let them warm up.

Family enjoying breakfast together at the table

REFERENCES:

Adapted from:
http://ongov.net/dss/documents/good-and-cheap.pdf

Do you find this Blog helpful?

Show some love here!

SMS Communication Consent

No comments yet. Be the first to share your thoughts!

Scroll To Top

You May Also Like...

August 5, 2026

Rainbow Fruit Salsa with Cinnamon Chips | Healthy Family Snack Recipe

Rainbow Fruit Salsa with Cinnamon Chips Not a fan of traditional tomato salsa? Give this sweet and colorful fruit version a try! Rainbow Fruit Salsa is packed with vitamin C,…

Read More
2
0
July 1, 2026

Healthy Red, White, and Blue Snacks for Kids

Red, White, and Blue Snacks Kids Will Love This July 4th July 4th is a fun time to celebrate with family, friends, and yummy food. But holiday snacks don’t have…

Read More
1
0
June 17, 2026

Simple Meals with Canned Fish: Easy, Healthy & Budget-Friendly Ideas

Simple Meals with Canned Fish Canned fish is a quick, easy, and affordable way to add healthy protein to your meals. Options like tuna, salmon, and sardines are packed with…

Read More
1
0
WATCH VIDEOS
  • Infant
    • Infant Pacifiers: Benefits, Safety Tips, and When to Wean
    • When to Start Peanut and Egg to Help Prevent Allergies
    • The Basics of Paced Bottle-Feeding
    • How Do I Know If My Baby Could Be Tongue-Tied?
    • Protect Your Baby from Cronobacter
  • Children
    • Food, Feelings, and Your Child’s Health | How Nutrition Affects Mood
    • Simple Child Safety Tips Every Parent Should Know
    • Shopping With Kids: A Simple Way to Help Them Like More Foods
    • Pumpkin Fun: Free and Healthy Activities for Kids Under 5
    • Letting Your Child Play with Food Can Be a Good Thing
  • General /Family
    • Kid-Friendly Apple Cinnamon Oat Cups | WIC Recipe
    • Protecting Your Family from Cyclospora: Summer Food & Water Safety
    • The Benefits of Family Meals for Kids and Parents
    • Meet the Milks: Dairy and Plant-Based Choices
    • Avoiding Food Waste
  • Women
    • Breastfeeding After a C-Section: Tips for WIC Moms
    • Breastfeeding Nipple Pain: What’s Normal and When to Get Help
    • Cluster Feeding Explained | WIC Breastfeeding Support
    • Breastfeeding Support Available Through WIC | Pumps, Peer Counselors & More
    • How Partners Can Support Breastfeeding
  • Recipes
    • Rainbow Fruit Salsa with Cinnamon Chips | Healthy Family Snack Recipe
    • Healthy Red, White, and Blue Snacks for Kids
    • Simple Meals with Canned Fish: Easy, Healthy & Budget-Friendly Ideas
    • Fresh & Easy Spring Snacks for Toddlers
    • Fresh & Easy Spring Veggie Pasta
LiveWell WIC program logo

Contact Us

USDA is an equal opportunity provider, employer, and lender.

Cookie PolicyAbout UsPrivacy PolicyTerms of Agreement

© Brush Art Corporation

Share to Social

Share this link via

Share

  • Email
  • SMS
If you are using multiple emails, separate them with commas.

    Cartoon vegetables with leafy tops gather playfully together.

    Side-Lying Hold

    1. For the right breast, lie on your right side with your baby facing you.
    2. Pull your baby close. Your baby’s mouth should be level with your nipple.
    3. In this position, you can cradle your baby’s back with your left arm and support yourself with your right arm and/or pillows.
    4. Keep loose clothing and bedding away from your baby.
    5. Reverse for the left breast.

    This hold is useful when:

    • You had a C-section
    • You want to rest while baby feeds
    • You are breastfeeding in the middle of the night
    • You and your baby are comfortable in this position
    Yellow circle with abstract, jagged shapes and patterns.

    Cross-Cradle Hold

    1. For the right breast, use your left arm to hold your baby’s head at your right breast and baby’s body toward your left side. A pillow across your lap can help support your left arm.
    2. Gently place your left hand behind your baby’s ears and neck, with your thumb and index finger behind each ear and your palm between baby’s shoulder blades. Turn your baby’s body toward yours so your tummies are touching.
    3. Hold your breast as if you are squeezing a sandwich. To protect your back, avoid leaning down to your baby. Instead, bring your baby to you.
    4. As your baby’s mouth opens, push gently with your left palm on baby’s head to help them latch on. Make sure you keep your fingers out of the way.
    5. Reverse for the left breast.

    This hold is useful when:

    • Your baby is premature
    • Your baby has a weak suck
    • Your baby needs help to stay latched
    • Your baby needs extra head support
    • You and your baby are comfortable in this position
    Cat playing with butterfly in a garden.

    Clutch or “Football” Hold

    1. For the right breast, hold your baby level, facing up, at your right side.
    2. Put your baby’s head near your right nipple and support their back and legs under your right arm.
    3. Hold the base of your baby’s head with your right palm. A pillow underneath your right arm can help support your baby’s weight.
    4. To protect your back, avoid leaning down to your baby. Bring baby to you instead.
    5. Reverse for the left breast.

    This hold is useful when:

    • You had a C-section
    • You have large breasts
    • You have flat or inverted nipples
    • You have a strong milk let-down
    • You are breastfeeding twins
    • Your baby likes to feed in an upright position
    • Your baby has reflux
    • You and your baby are comfortable in this position
    Peach circle with abstract shapes radiating outward.

    Cradle Hold

    1. For the right breast, cradle your baby with your right arm. Your baby will be on their left side across your lap, facing you at nipple level.
    2. Your baby’s head will rest on your right forearm with your baby’s back along your inner arm and palm.
    3. Turn your baby’s tummy toward your tummy. Your left hand is free to support your breast, if needed. Pillows can help support your arm and elbow.
    4. To protect your back, avoid leaning down to your baby. Instead, bring your baby to you.
    5. Reverse for the left breast.

    This hold is useful when:

    • Your baby needs help latching on
    • You and your baby are comfortable in this position
    Smiling peach character waving cheerful hello.

    Laid-Back Hold

    1. Lean back on a pillow with your baby’s tummy touching yours and their head at breast level. Some moms find that sitting up nearly straight works well. Others prefer to lean back and lie almost flat.
    2. You can place your baby’s cheek near your breast, or you may want to use one hand to hold your breast near your baby. It’s up to you and what you think feels best.
    3. Your baby will naturally find your nipple, latch, and begin to suckle.

    This hold is useful when:

    • Your baby is placed on your chest right after birth
    • You have a strong milk let-down
    • You have large breasts
    • You and your baby are comfortable in this position